As the cold days of winter give way to the vibrant hues of spring, a deep-seated excitement begins to stir among gardeners. The early spring soil, cool yet promising, is ideal for sowing hearty root vegetables, while the warm sun of the later months nurtures vibrant peppers and tomatoes. In this guide, we dive into essential spring planting and gardening tips, covering everything from selecting the right plants to ensuring optimal growth in your unique garden environment. We'll also explore how to protect your tender plants with gentle, effective solutions like our Natural Plant Wash, equipping you with the knowledge to not only start your garden but to see it thrive through the seasons.
Getting Your Garden Ready for Spring Planting
Cleaning and Organizing Your Garden Space
The first step in getting your garden ready for spring is a good cleanup. Begin by removing any weeds, stones or debris left over from winter, fallen branches, dead leaves, and any remnants of last season's plants. This not only tidies up your space but also helps prevent the spread of disease and pests that might have taken refuge over the winter.
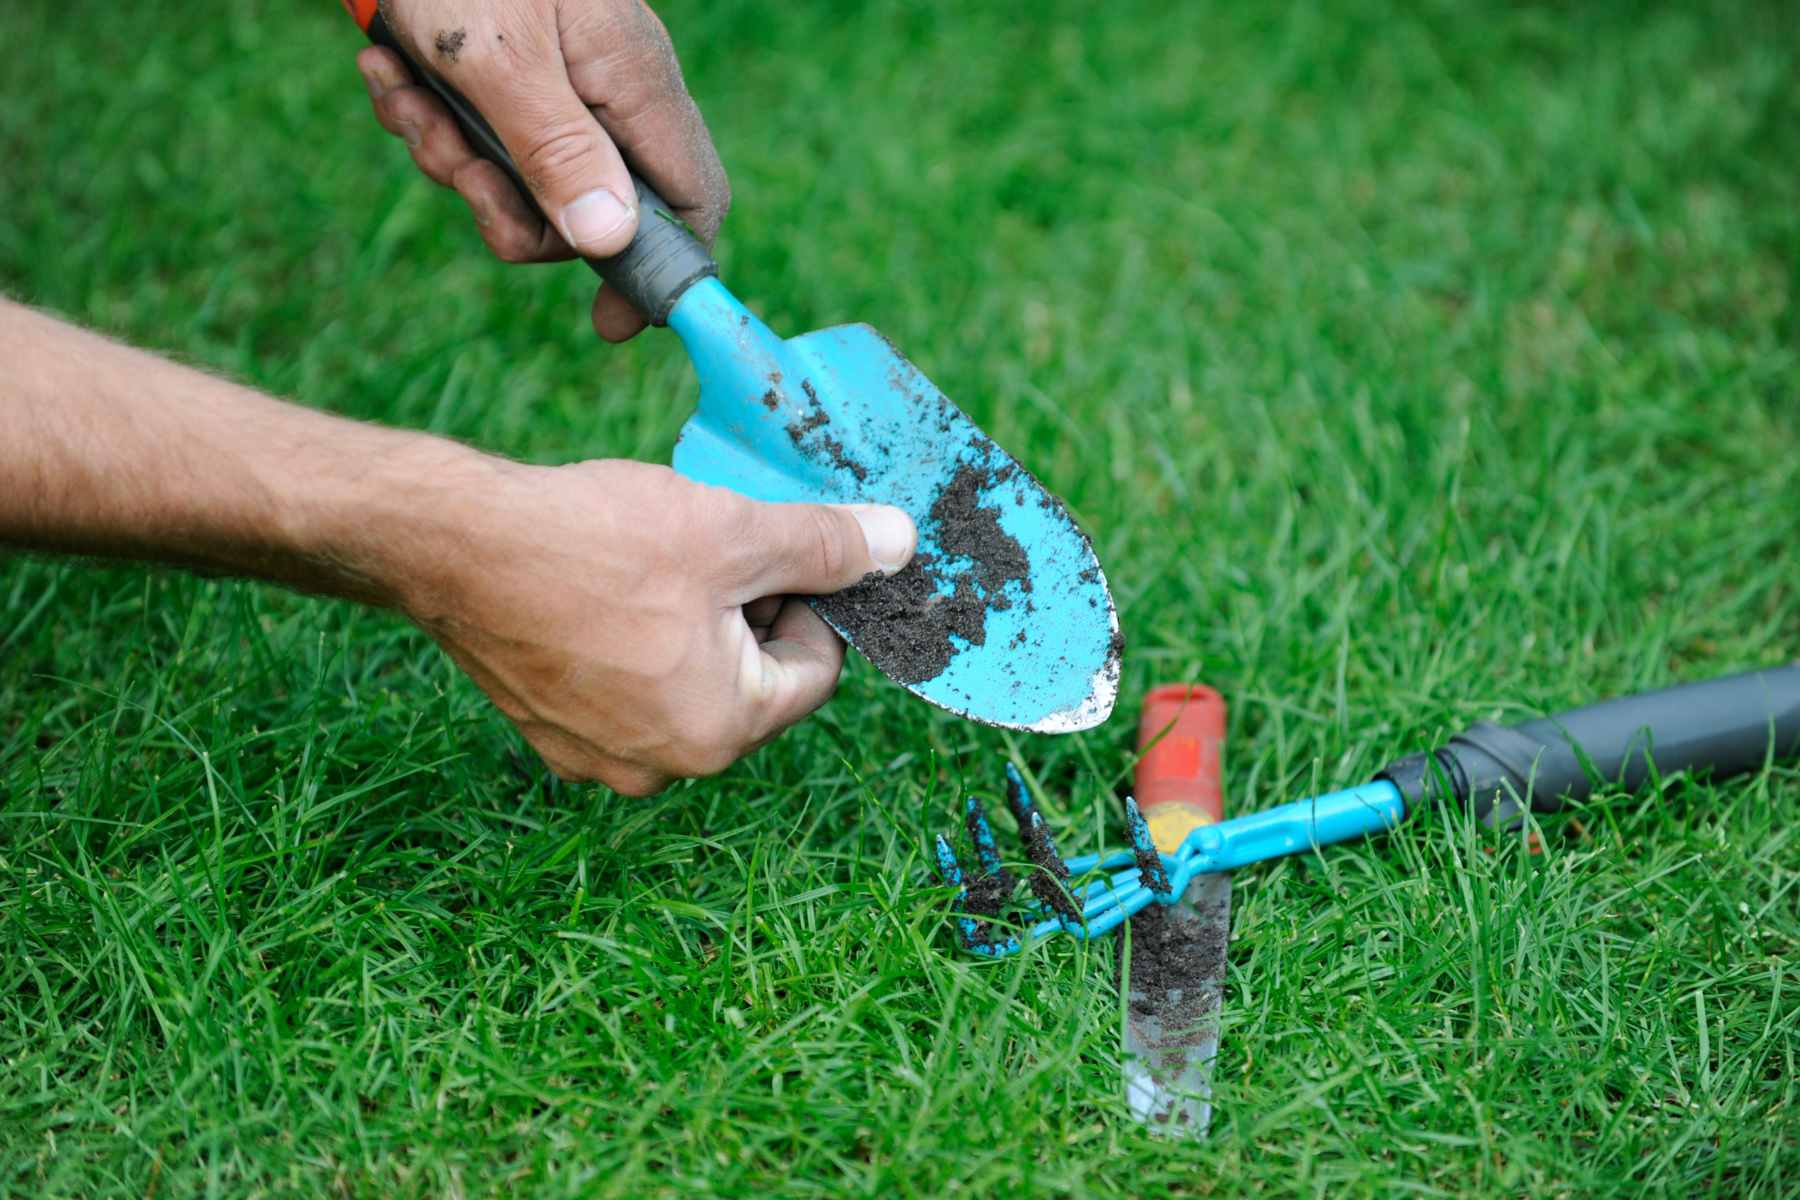
Next, take a look at your garden tools. Are your shears sharp? Does your spade need a clean? Well-maintained tools make the work easier and prevent the spread of disease from plant to plant. It's also a great time to take inventory of your garden supplies like stakes, ties, and supports so you can replenish stock before the rush of planting gets underway.
Special Considerations for Different Garden Types
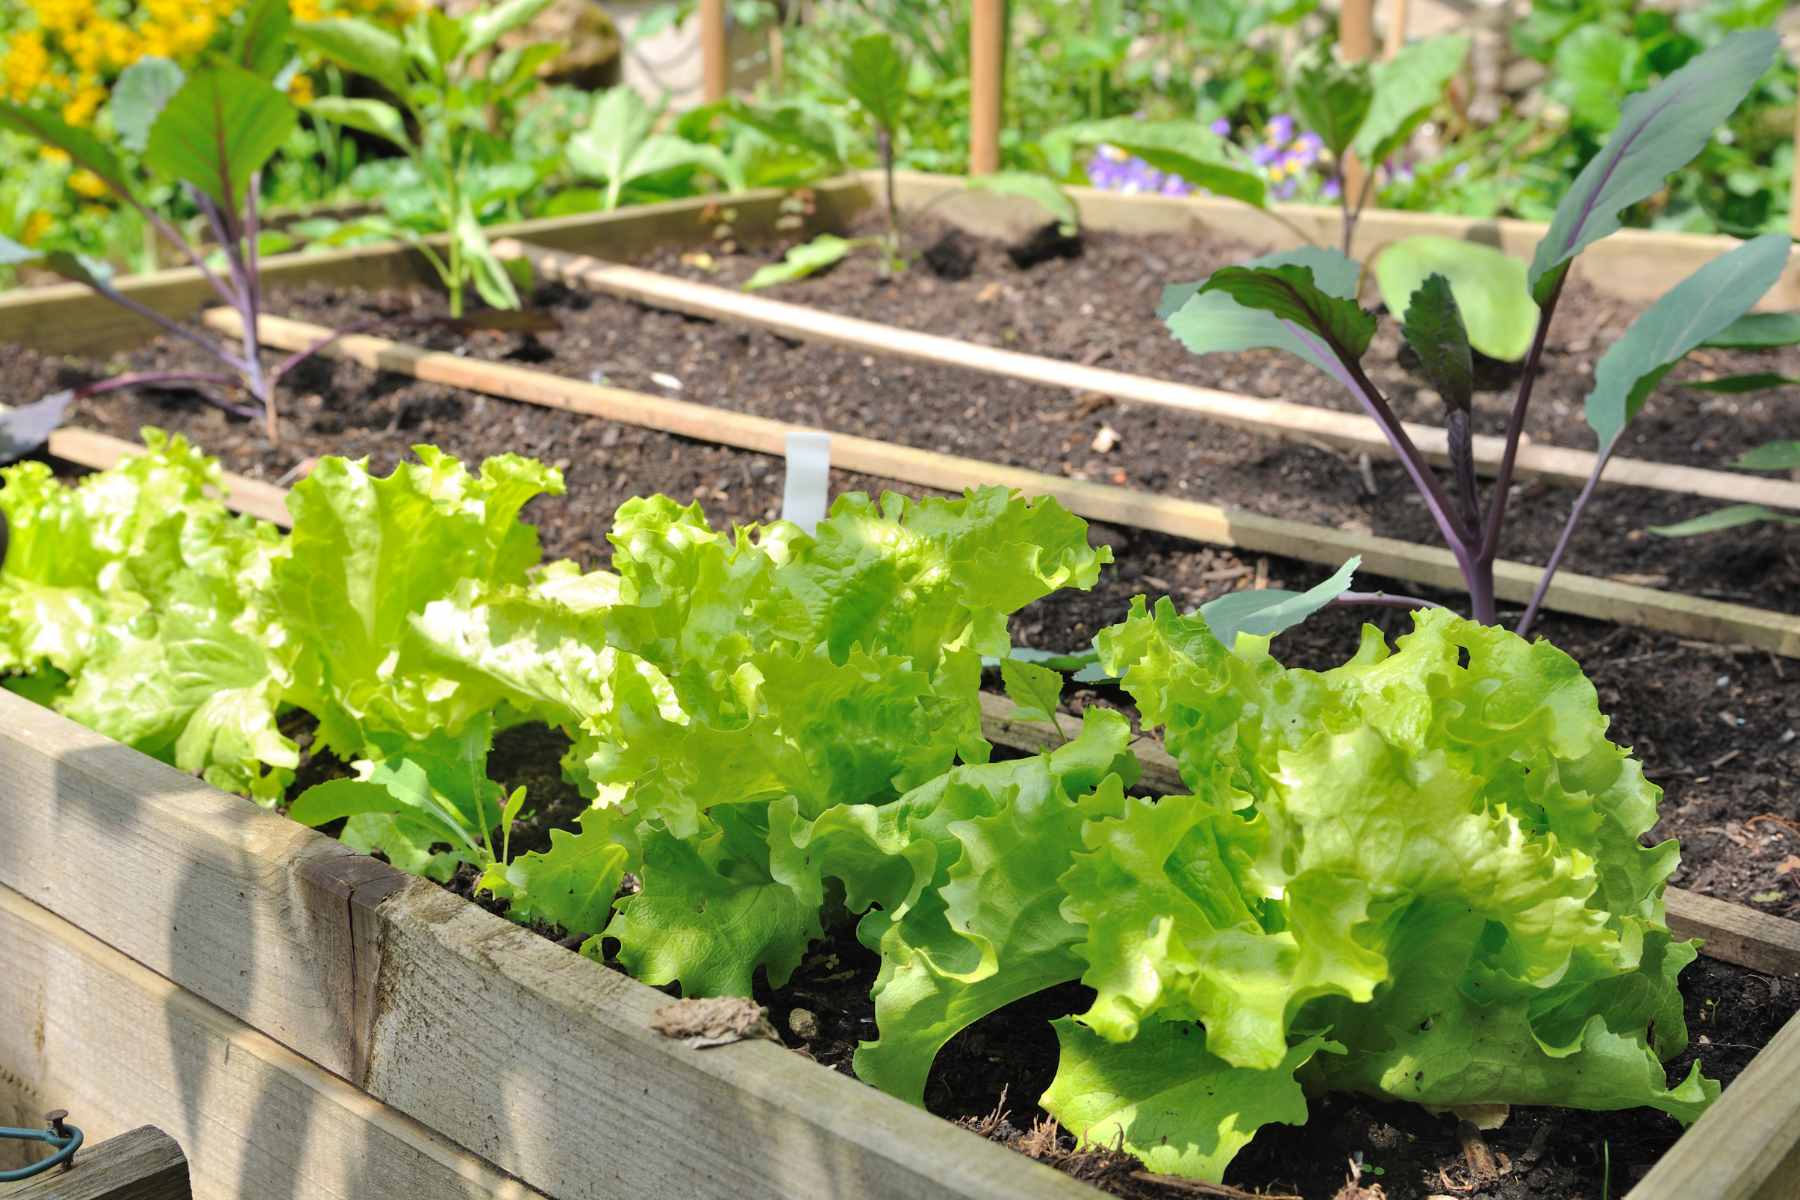
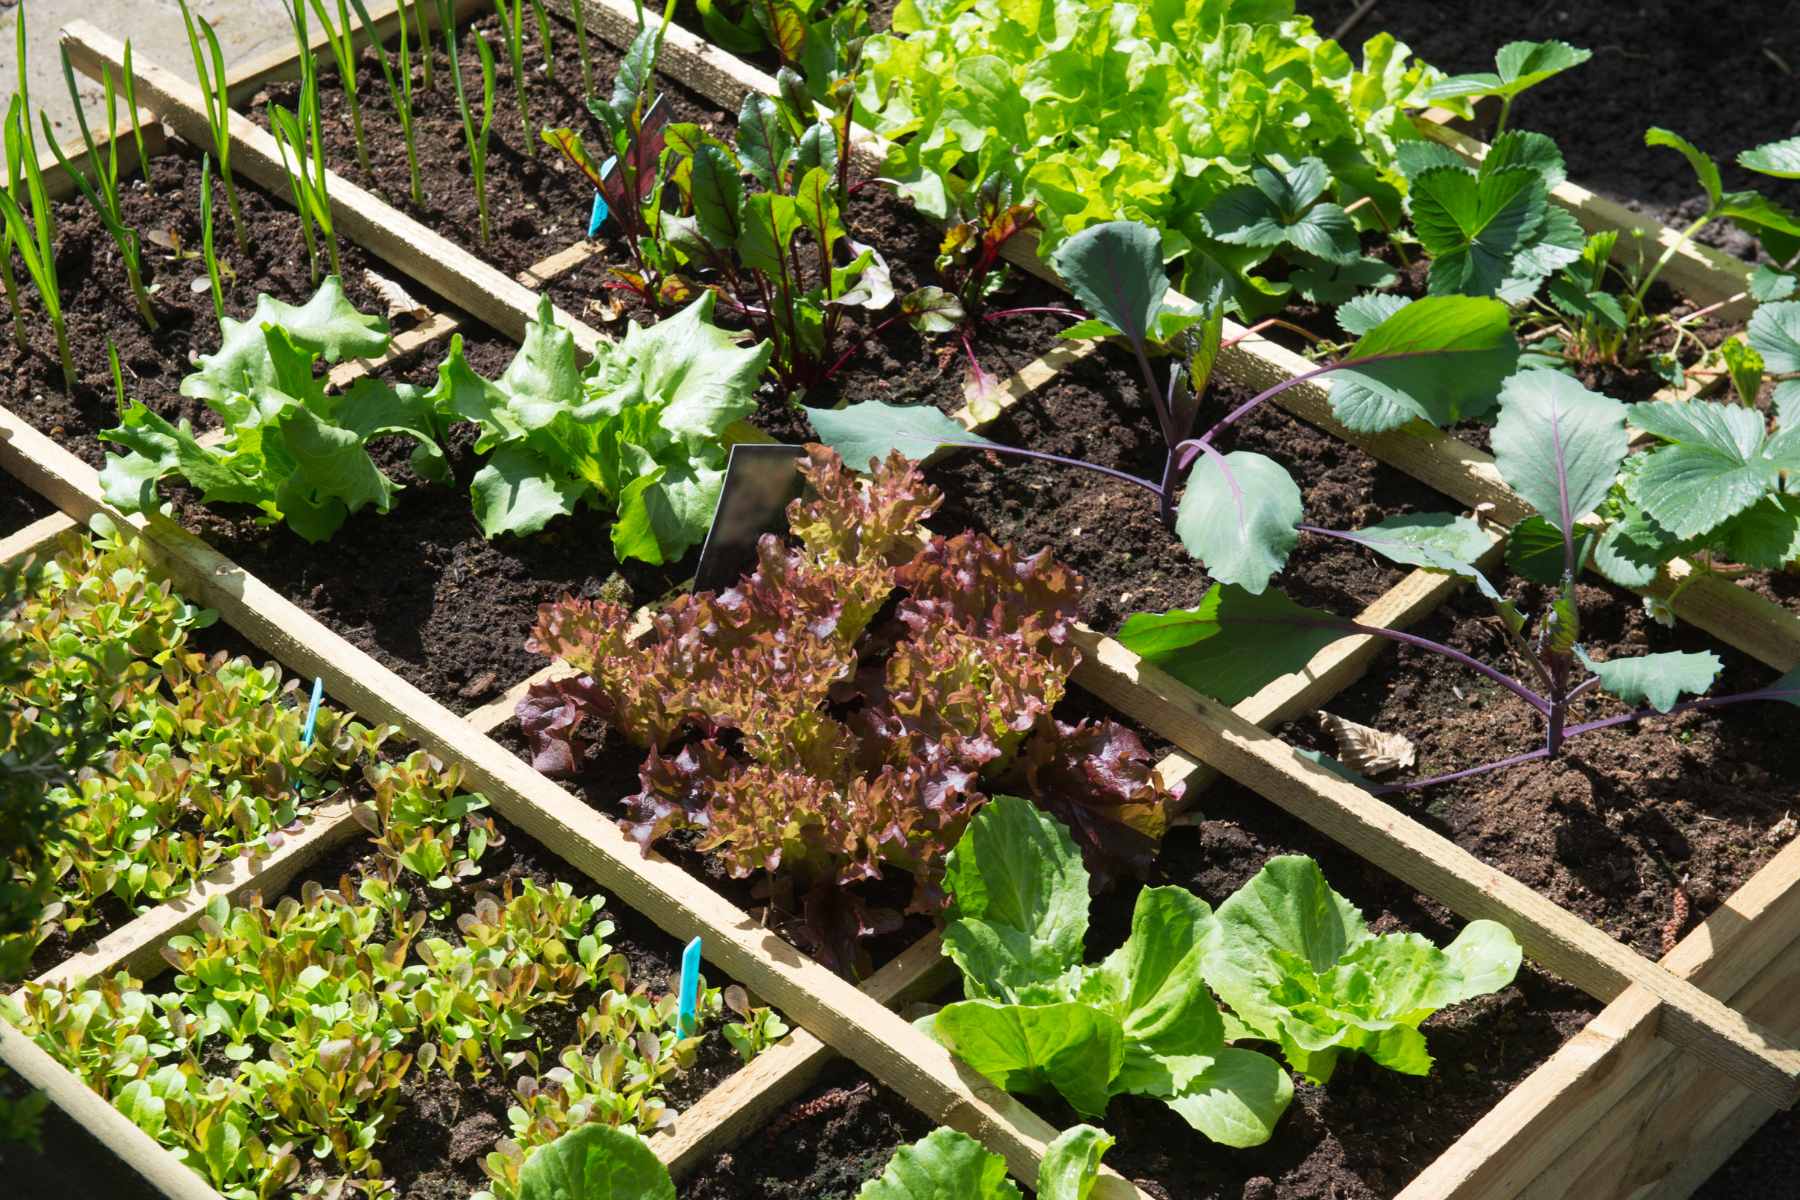
Raised Beds: If you're using raised beds, these offer excellent drainage and can be easier to manage. Ensure that your raised beds are in good repair, tighten any loose boards and consider adding fresh soil to top them off. Raised beds warm up faster in the spring, which can be a great advantage for getting a head start on the growing season.
Ground-Level Gardens: For traditional ground-level gardens, early spring is the time to till or turn the soil, but only once it's dry enough to work with. Tilling wet soil can lead to compaction and structure problems. Incorporate a layer of compost to enrich the soil, setting a nutritious stage for your plants to grow.
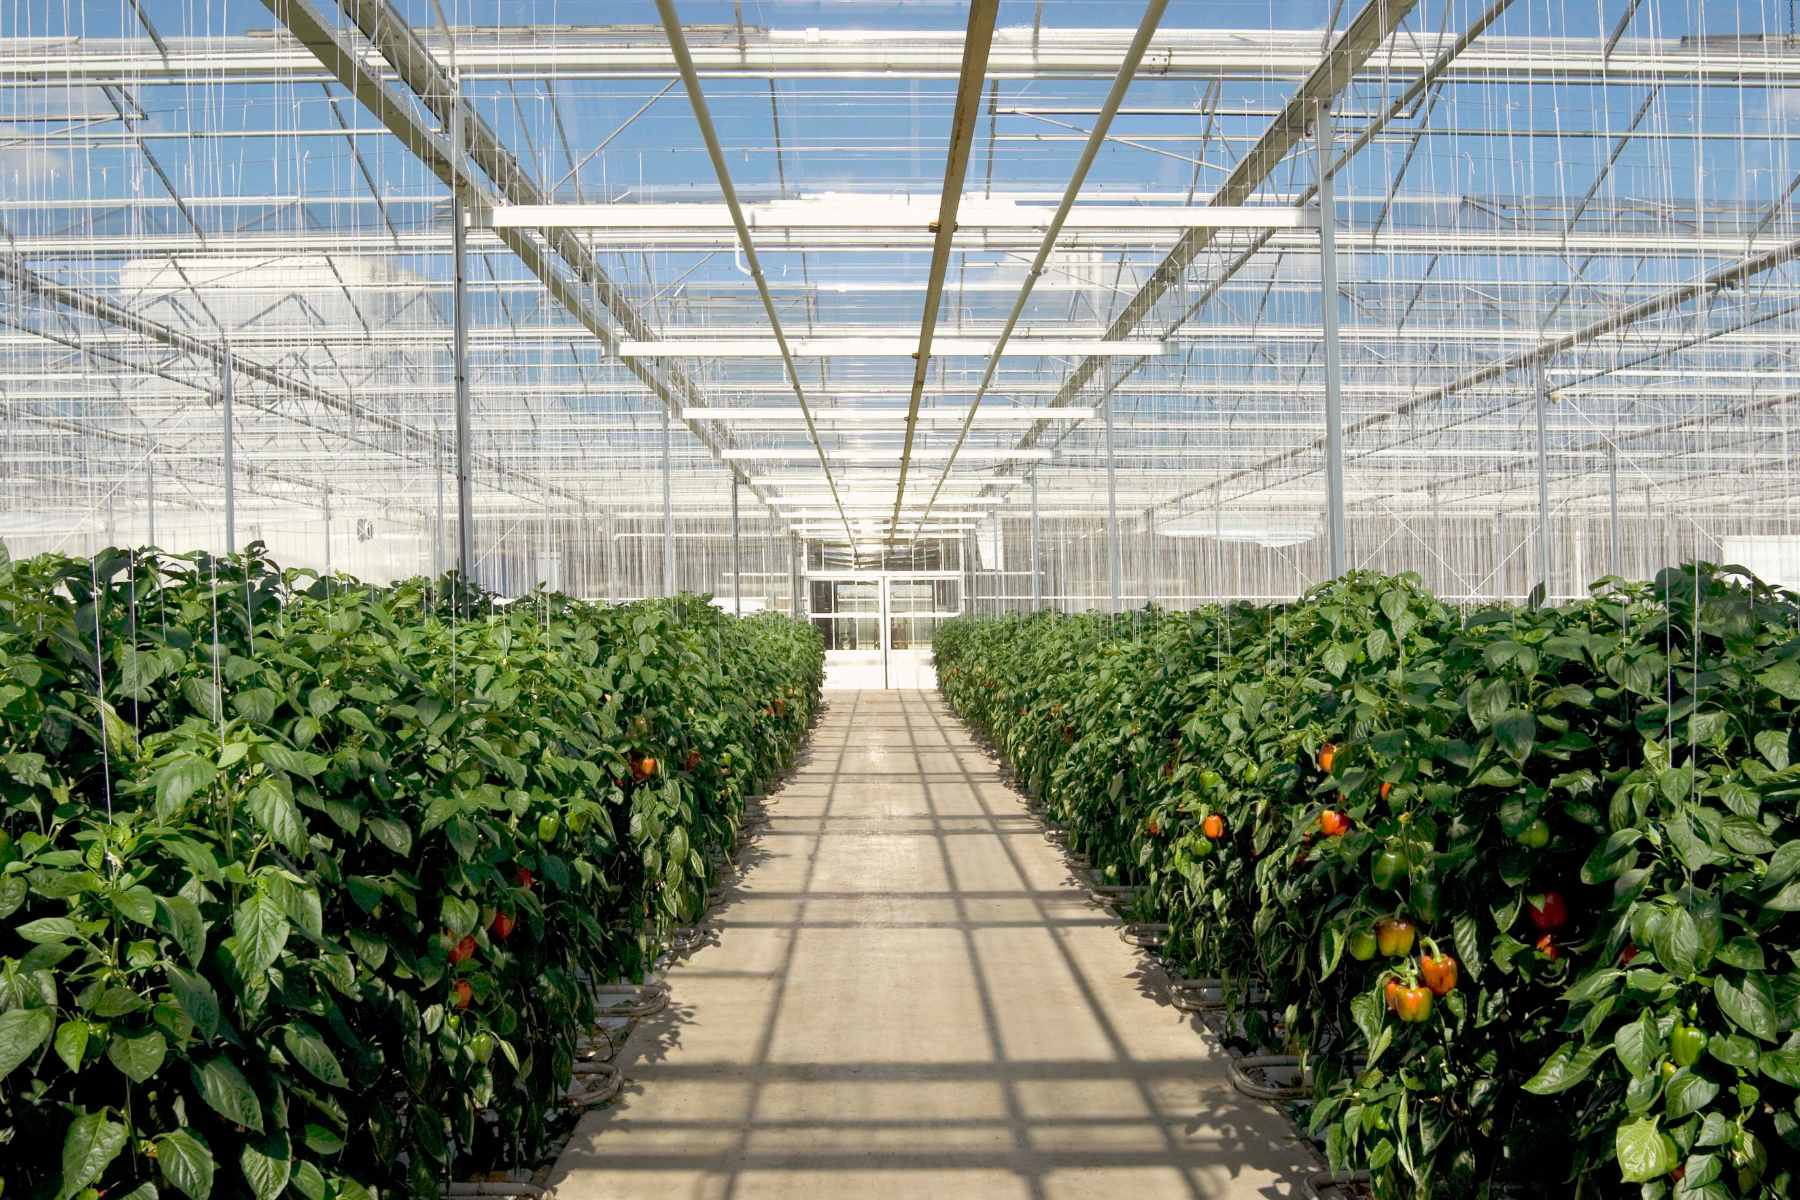
Greenhouses: Ensure you wash the glass to maximize light penetration, inspect for any necessary repairs, and thoroughly sterilize the interior to prevent overwintering diseases and pests from affecting this year's plants. Greenhouses offer the advantage of starting seeds early, providing plants like tomatoes and peppers with a valuable head start before they are transplanted outdoors.
Understanding Your Garden's Environment
One of the most essential steps in spring gardening is to understand your garden's specific environment. Knowing your growing zone and the microclimate of your garden can greatly influence the success of your planting season. Each growing zone has its own characteristics that determine what and when you can plant. For instance, what thrives in the warm climates of zone 9 might not survive the cooler temperatures in zone 6b. You can easily find your growing zone by checking with your local garden center.
Knowing Your Growing Zone and Frost Dates
The growing zone, determined by the USDA Plant Hardiness Zone Map guides gardeners on which plants are most likely to succeed in their location. In addition to knowing your zone, understanding the typical last frost date in your area helps prevent planting too early in the season. Planting after the last frost ensures that tender young plants won’t be damaged or killed by a sudden freeze, which could set your gardening efforts back by weeks.
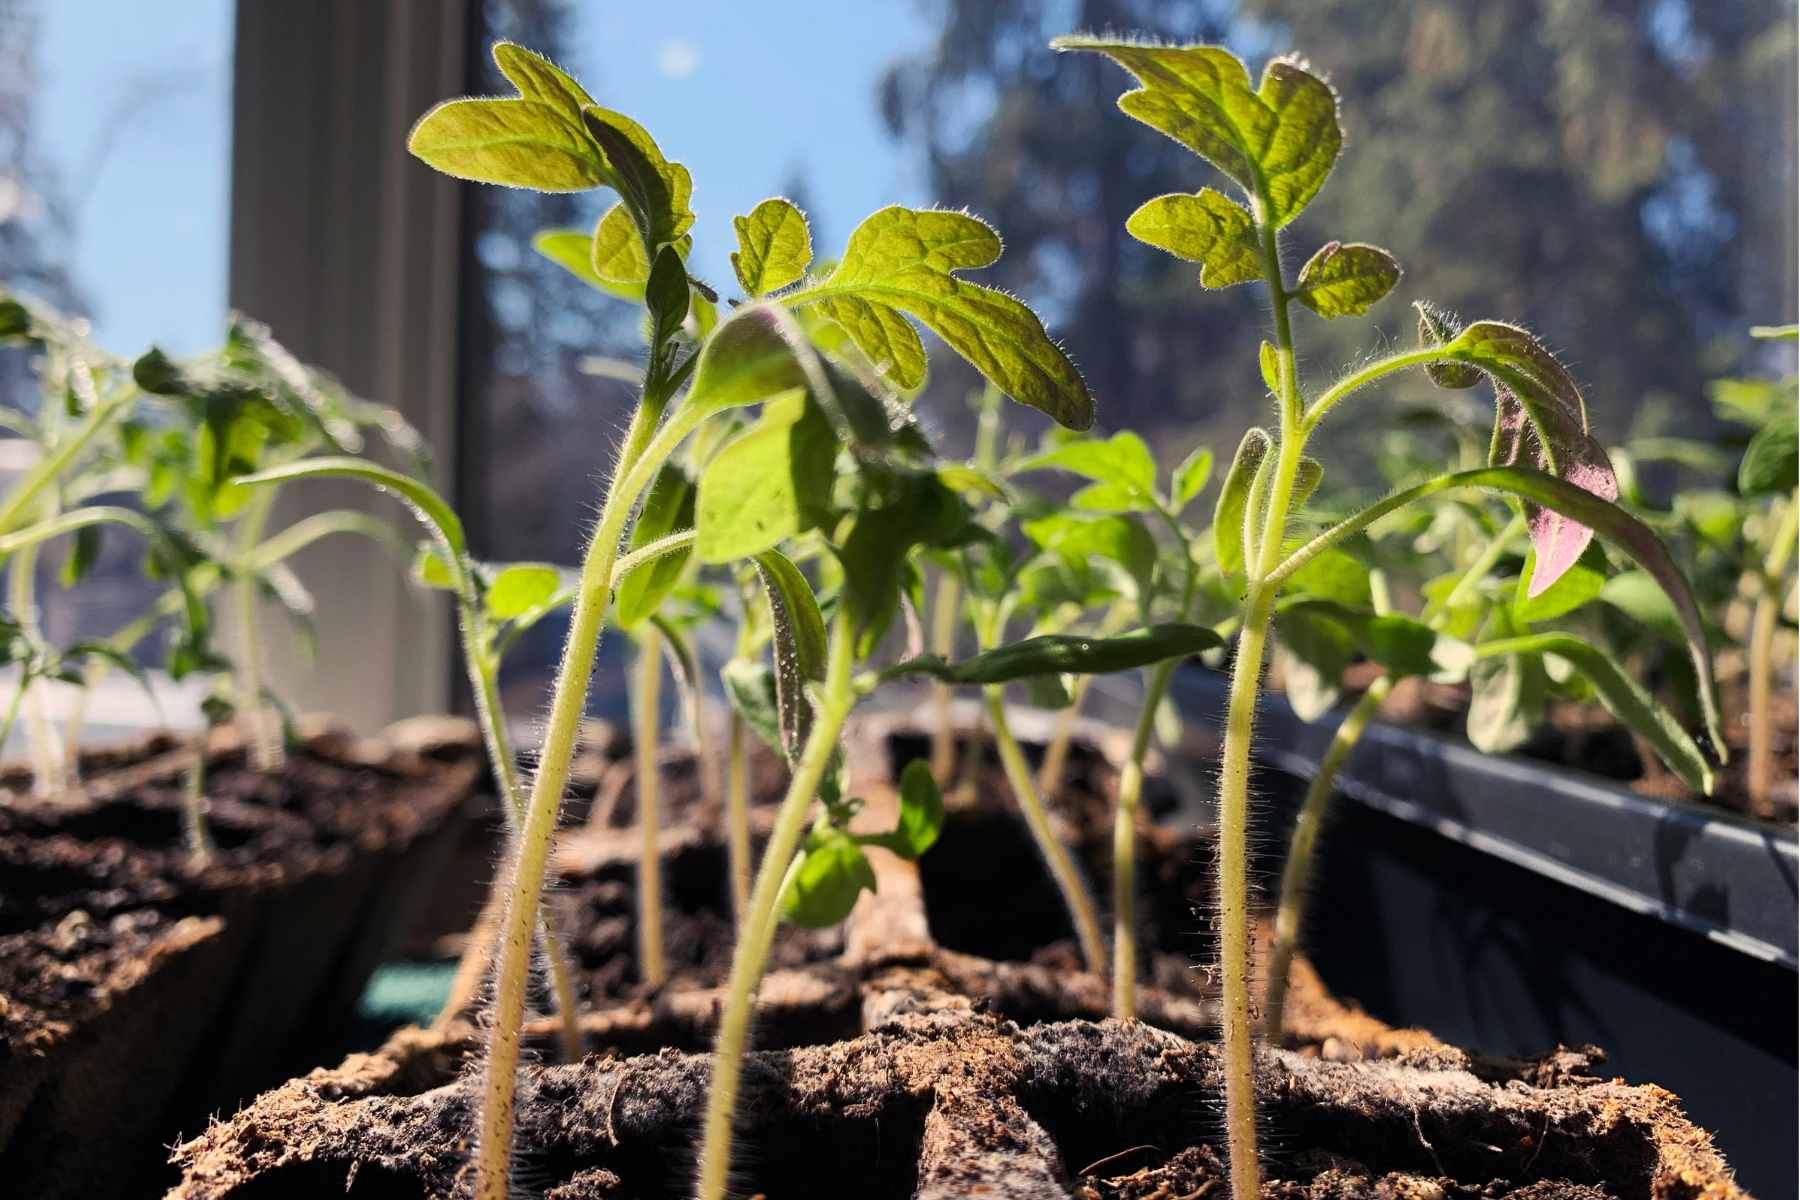
For those in colder zones, starting seeds indoors will allow you to begin your garden early despite the outside temperatures. Plants like tomatoes, peppers, and broccoli benefit significantly from this head start.
Assessing Your Garden's Microclimate
Even within your garden, microclimates can affect how plants grow. Areas near walls may be warmer, parts under tree canopies might be cooler, and some sections might drain differently. Walk around your garden at different times of the day to observe these microclimates. Understanding these can help you position plants optimally for sunlight, shade, and moisture. For example, lettuce and spinach, which prefer cooler, shadier spots, might do better on the north side of a structure, while sun-loving vegetables like carrots and beets thrive in full sun areas.
A simple thermometer can help you monitor these microclimates effectively. Pay attention to wind patterns too, as they can help you determine the best spots for planting delicate young plants.
Preparing the Soil
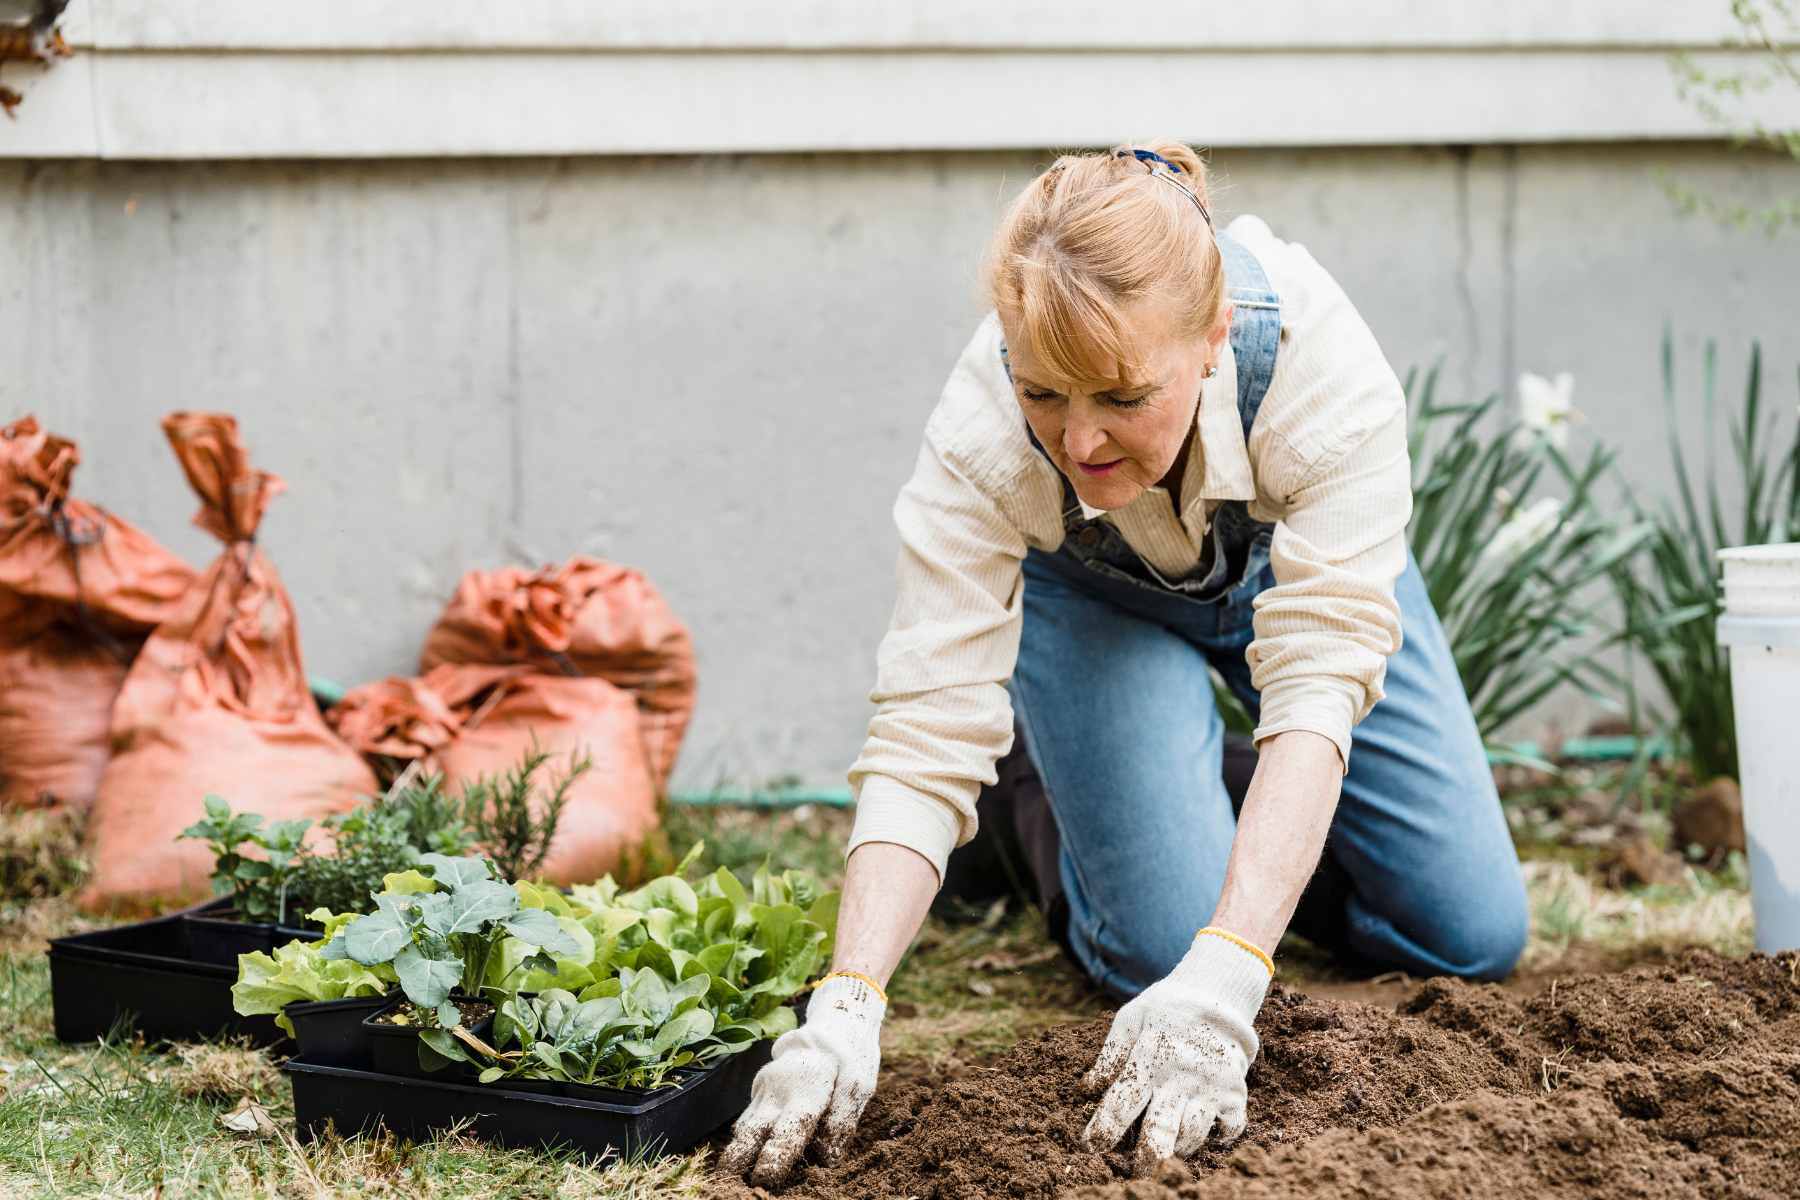
Whether you're cultivating a lush vegetable garden with peppers, tomatoes, and kale, or a vibrant flower garden adorned with bulbs and perennials, preparing your soil is crucial for a successful gardening season. Start by testing your soil with a simple kit from your local garden center. This will reveal the nutrient and pH levels, guiding you on necessary amendments. Once the soil is dry—when clumps break apart easily in your hand—it's time to till. Using a spade or a tiller, loosen the soil to improve aeration and drainage, which facilitates healthier root growth.
Next, enrich your garden by adding a generous layer of compost, which introduces essential nutrients and enhances soil structure. This improvement is particularly beneficial for sandy soils, which will retain water and nutrients more effectively, and for clay soils, which will become better aerated. Depending on your soil test results, you might also need to mix in organic fertilizers. These should be integrated into the top layers of your soil for a slow-release of nutrients that nurture young plants without the risk of burning them.
Healthy soil is the foundation of a productive garden. It supports your plants in several critical ways, from providing them with nutrients to offering a good air-water balance. Remember, soil isn't just dirt, it's a living ecosystem. Enriching your garden soil with organic matter such as compost not only feeds this ecosystem but also keeps it vibrant and alive.
See more tips and ideas for a thriving backyard garden. and organic gardening for beginners here.
Selecting the Best Vegetables, Flowers, and Perennials
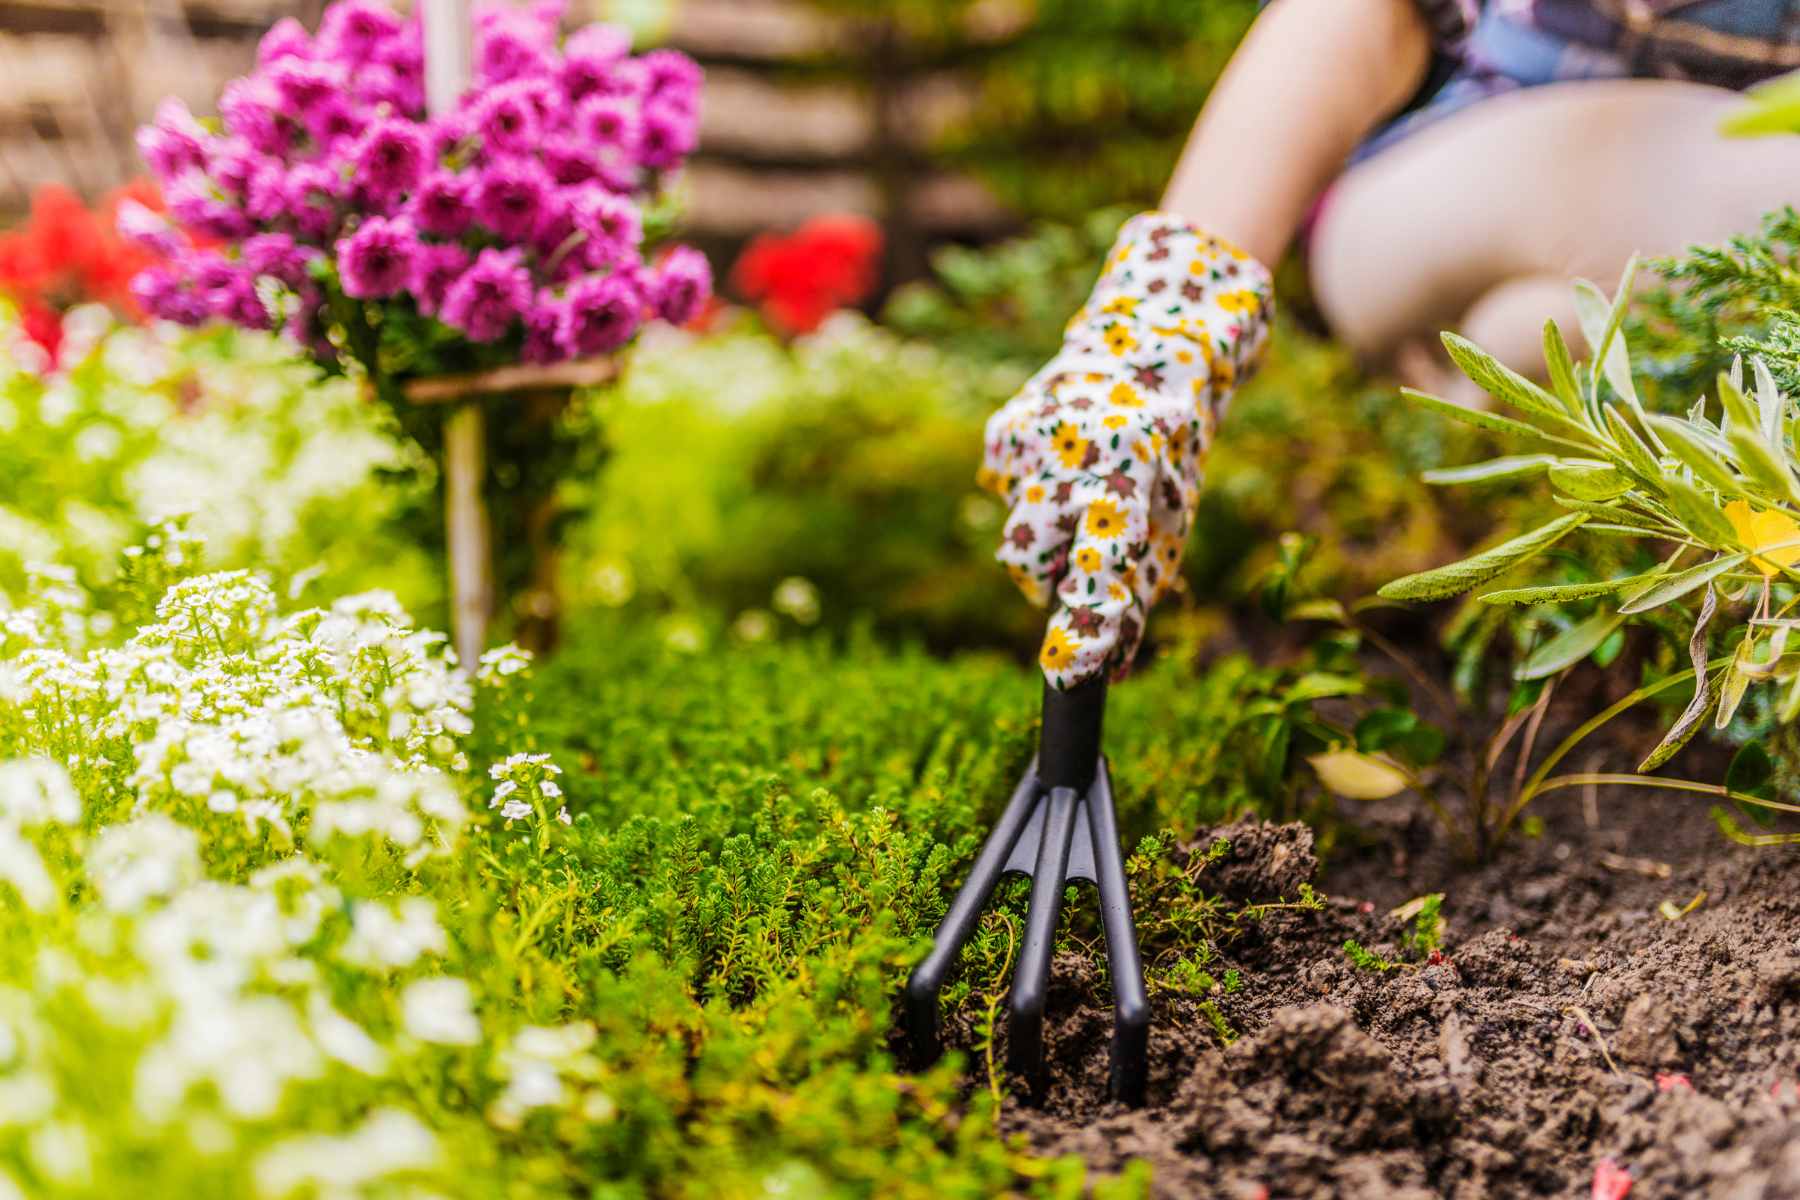
For those eager to get their hands in the soil early, hardy vegetables such as kale, lettuce, peas, and spinach are excellent choices. These crops can tolerate a little frost, making them perfect for early spring when temperatures might still dip unexpectedly. If you’re looking to add some color and vibrancy to your garden during the cooler days, consider frost-resistant flowers like pansies and snapdragons, which can brighten up your garden even on chilly spring days.
Perennials are another great choice for spring planting. These plants come back year after year and can provide a beautiful structure and backdrop for annuals or biennials. Some perennials, like daylilies and hostas, are robust enough to be planted early in the spring and can withstand a late frost. Early spring is also an ideal time to divide and transplant perennials, helping them to thrive and grow more vigorously.
Starting Seeds Indoors
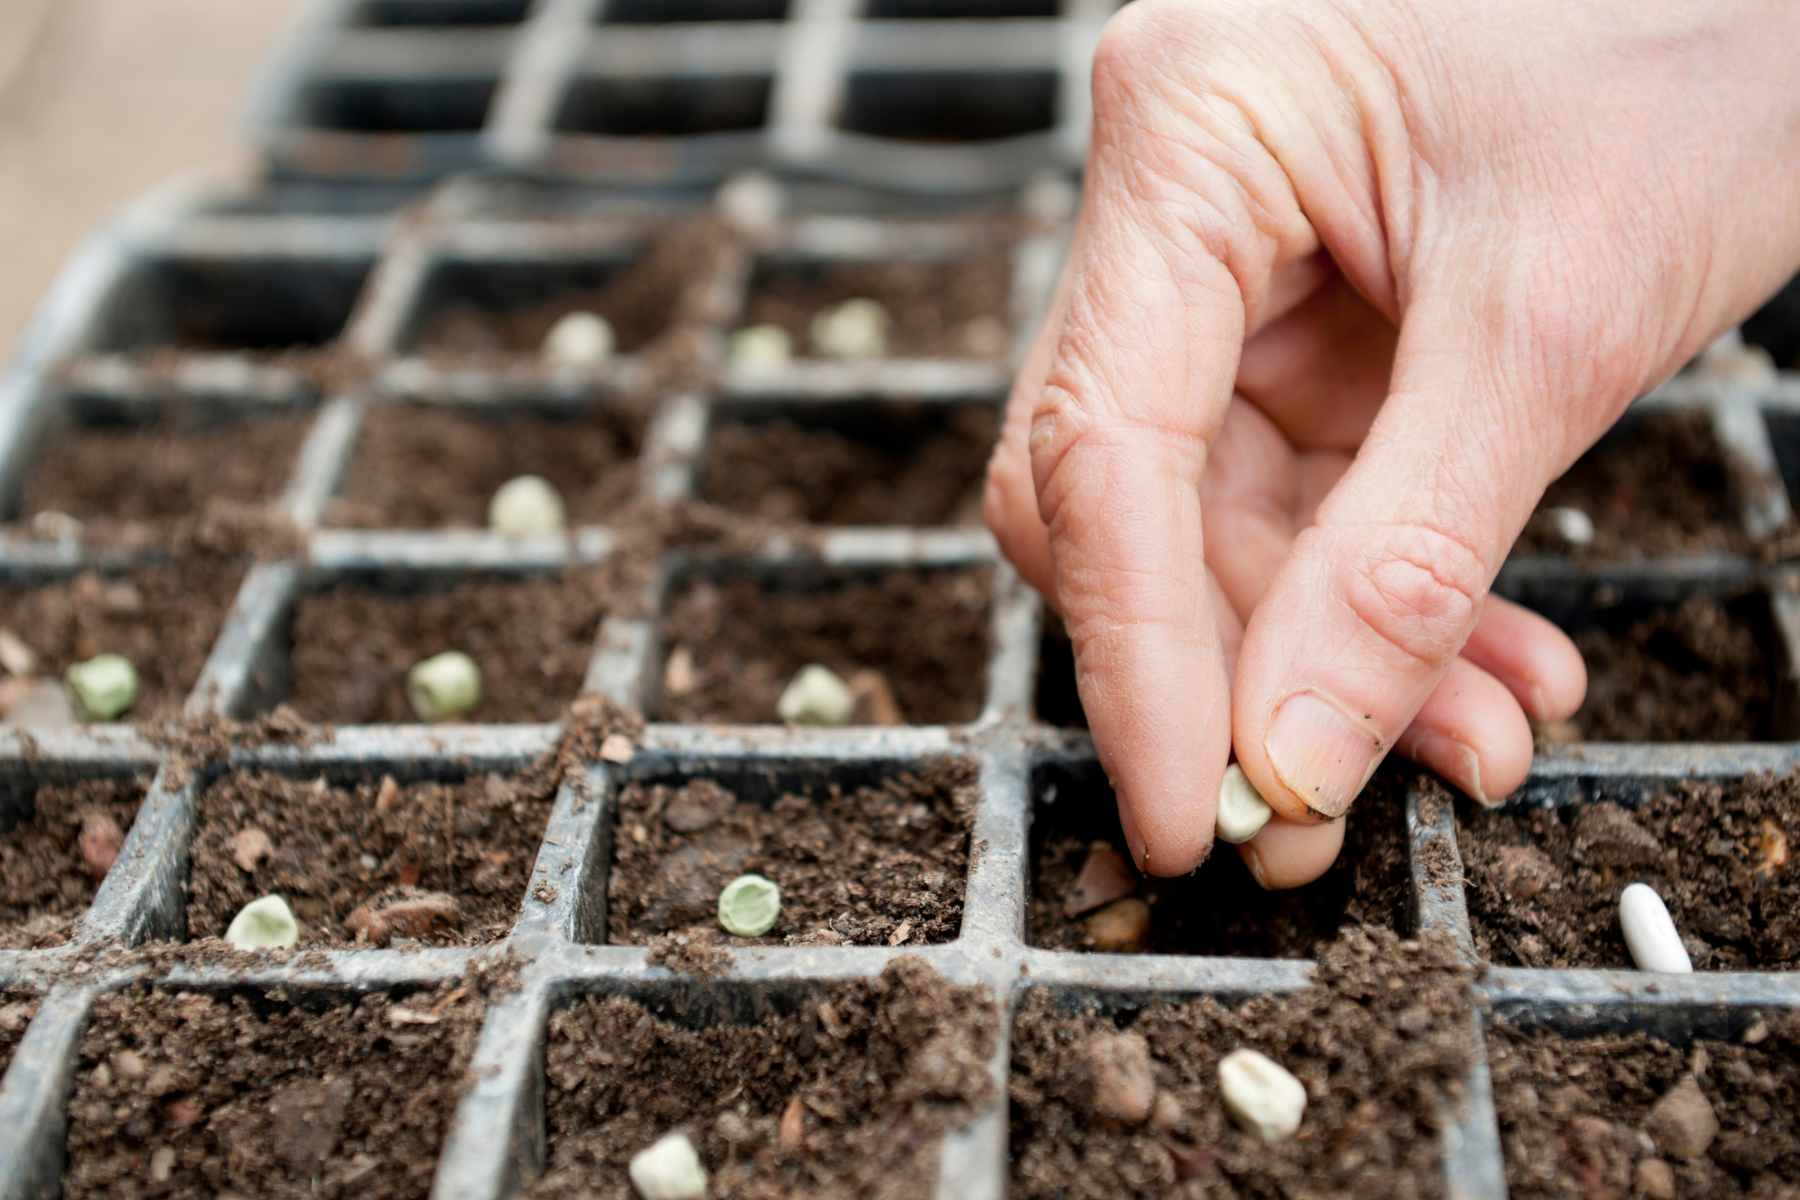
Starting seeds indoors is a fantastic way to extend your growing season. By beginning the growth process inside, you can have young plants ready to go as soon as the outdoor planting conditions are ideal. This is particularly beneficial for warm-season crops like tomatoes, peppers, and cucumbers, which need a longer growing period than what your local climate may allow outdoors.
Tips on Starting Seeds Indoors
To start your seeds indoors, you’ll need containers (such as seed trays or pots), high-quality seed starting mix, and a suitable location that receives ample sunlight or is supplemented with grow lights. Here’s how to get started:
Fill Containers: Use a sterile, seed-starting mix to fill your containers. This medium is typically lighter and more free-draining than regular garden soil, helping to prevent diseases.
Plant Seeds: Check your seed packet for specific planting instructions. Some seeds might need to be planted at a certain depth or require pre-soaking to enhance germination.
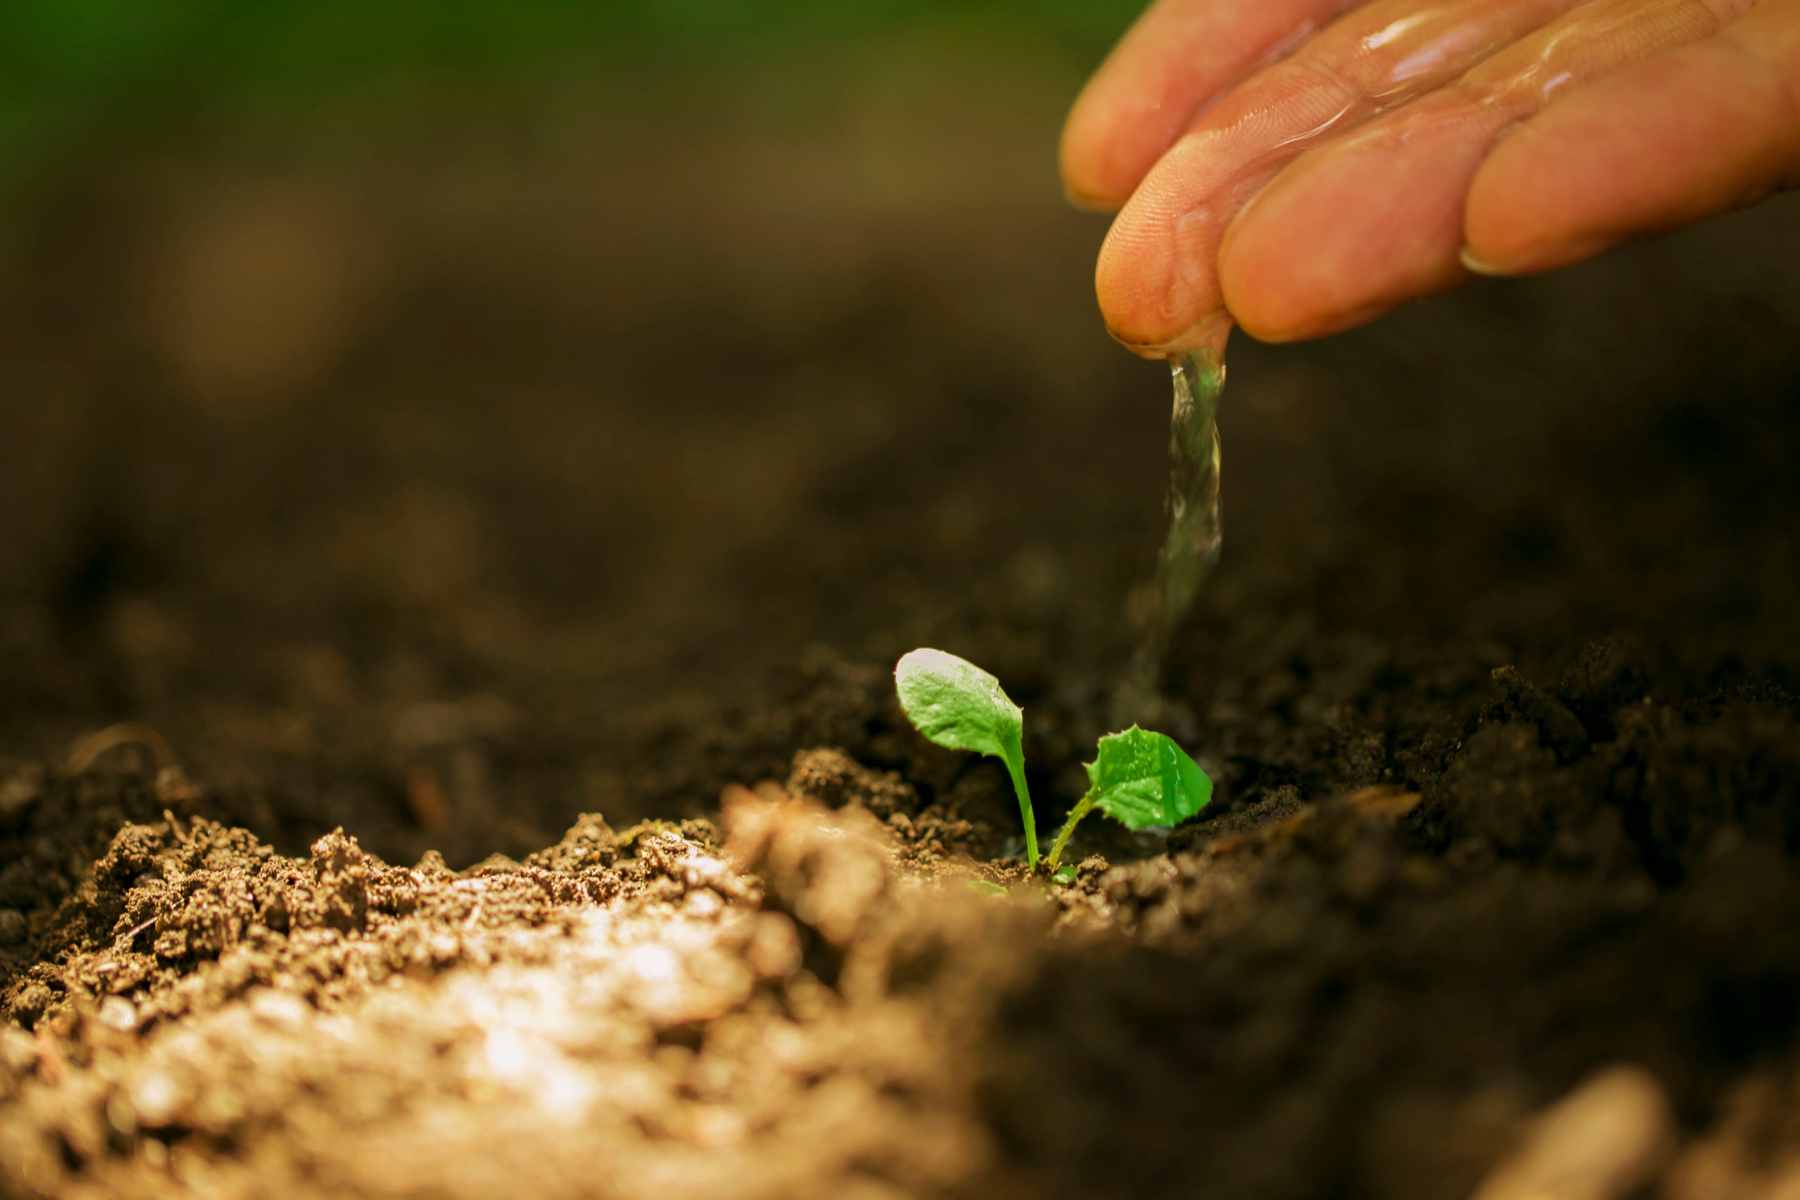
Water and Cover: After planting the seeds, lightly water them. Covering the containers with plastic wrap or a clear lid can help keep the moisture and warmth consistent.
Provide Light and Warmth: Place the seed containers in a location that stays warm and receives plenty of light. The warmth is particularly crucial for germination, while light is essential once the seedlings emerge.
Monitor moisture levels regularly, ensuring the soil is moist but not soggy. Overwatering can lead to fungal diseases such as damping off. Once seedlings appear, remove the cover and continue to provide light for about 12-16 hours a day. Rotate the containers to prevent seedlings from leaning towards the light source. As the seedlings grow, start fertilizing with a half-strength liquid fertilizer every couple of weeks. Pay attention to their development and thin seedlings if they become overcrowded, as this could impede their growth by limiting access to nutrients and light.
Transitioning Plants Outdoors
Once your seedlings have grown strong indoors, they need to be acclimated to outdoor conditions through a process known as hardening off. This step is crucial to prevent transplant shock, which can set back or even kill young plants.
Techniques for Acclimating Indoor-Started Plants to Outdoor Conditions
Begin hardening off your plants about a week or two before you plan to transplant them outdoors permanently. Start by placing your plants outside in a sheltered, partially shaded area for just a few hours each day, gradually increasing their exposure to sun and wind. Be sure to bring them back indoors or protect them if late frosts are predicted or if temperatures drop significantly at night.
Schedule and Methods for Hardening Off Young Plants
Over the course of a week or more, extend the amount of time your plants spend outdoors each day. By the end of the week, they should be able to withstand a full day and night outside unless weather conditions are not suitable. This gradual transition helps strengthen the plants, reducing the risk of shock from sudden changes in temperature, light, and wind.
Direct Sowing and Planting Strategies
As the spring season progresses and the soil warms, it's time to think about direct sowing and planting strategies that will ensure the success of your garden. Direct sowing involves planting seeds directly into the garden soil, which is an effective method for many types of vegetables and flowers that prefer not to be transplanted.
Guidelines on Direct Sowing Seeds Outdoors
Timing is Key: Wait until the soil has warmed adequately and all danger of frost has passed before sowing seeds directly outdoors. For most regions, this typically occurs a few weeks after the last frost date. Warm soil ensures faster germination and reduces the risk of seed rot.
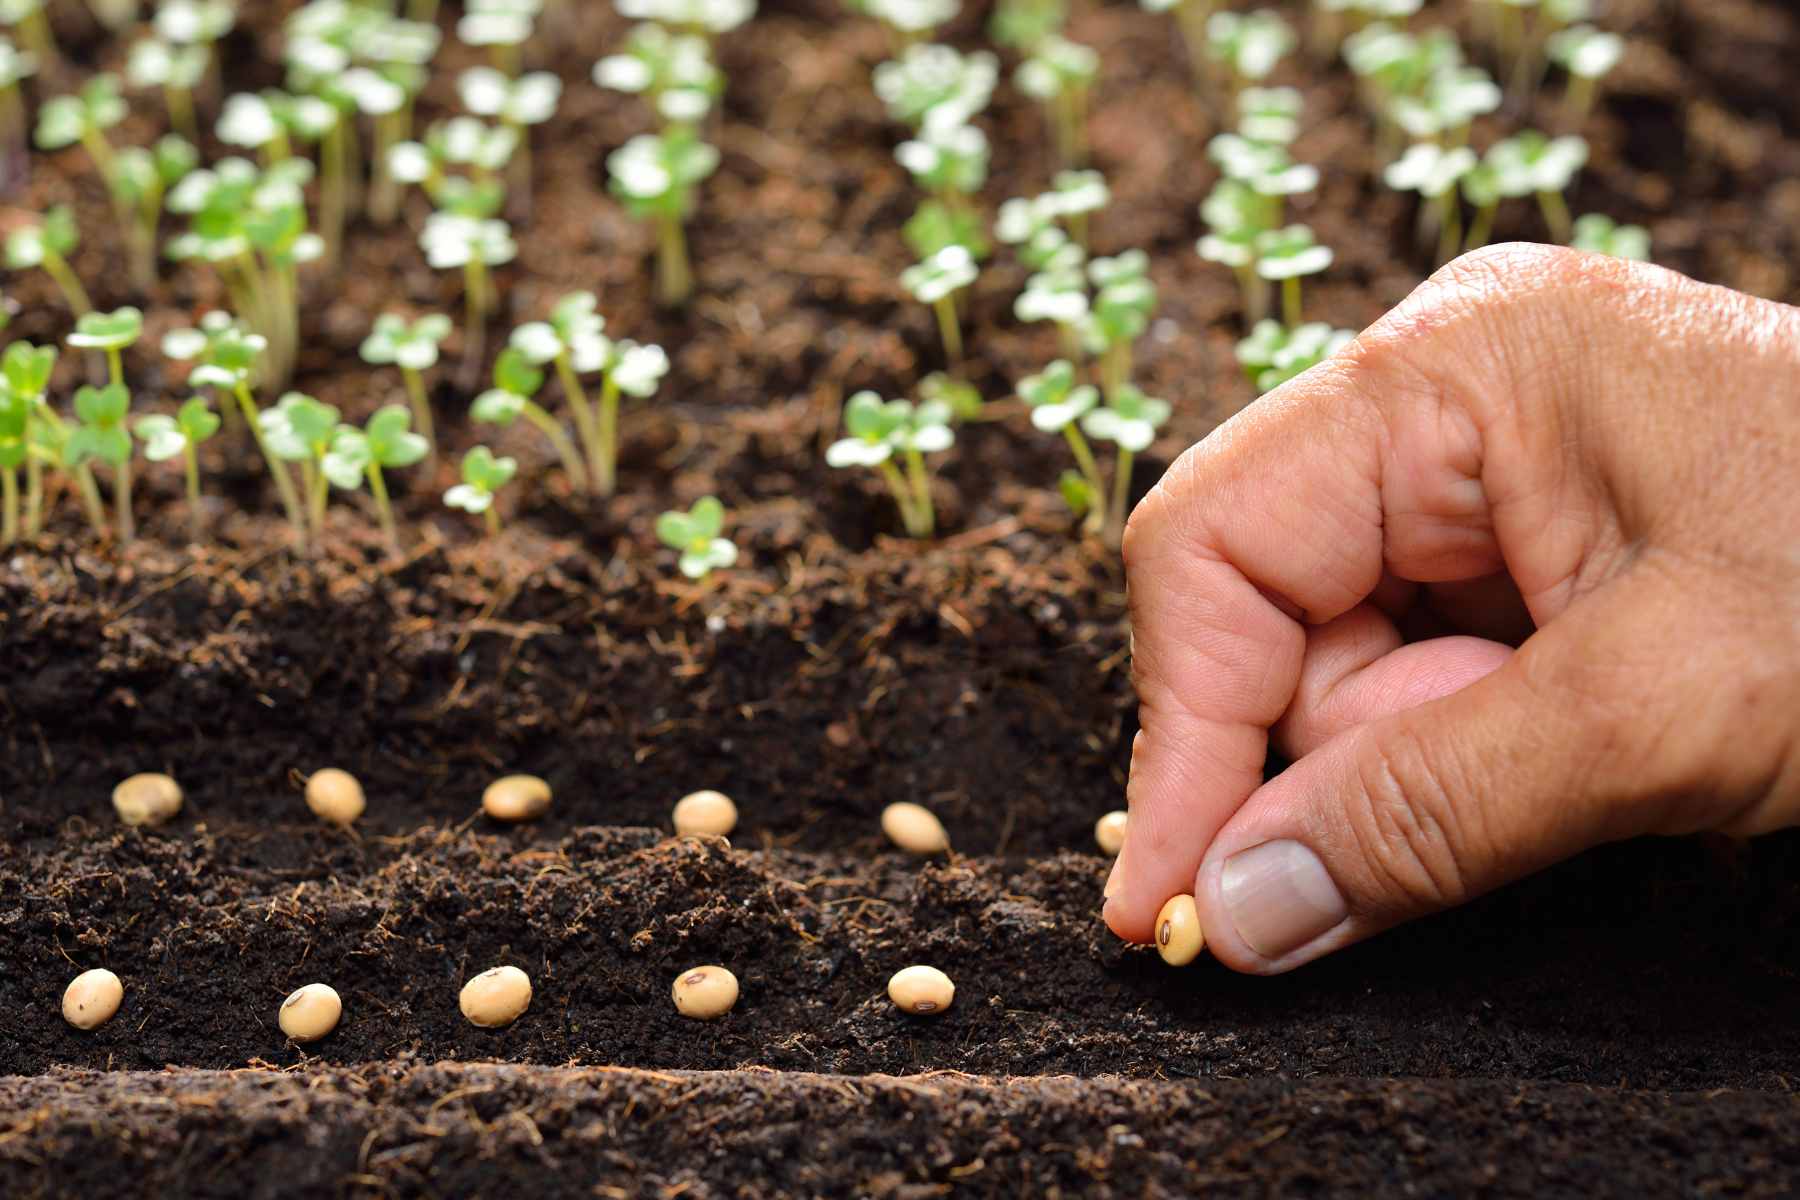
Sowing Depth and Spacing: Follow the sowing guidelines provided on the seed packets for depth and spacing. Some seeds, like peas and beans, do well when planted about an inch deep, while smaller seeds such as carrots or lettuce should be sown just below the surface. Proper spacing helps minimize competition for nutrients and sunlight.
Water Gently: After sowing, water the area with a fine mist to moisten the soil without disturbing the seeds. Keep the soil consistently moist until germination. Once seeds sprout, reduce watering to help encourage strong root growth.
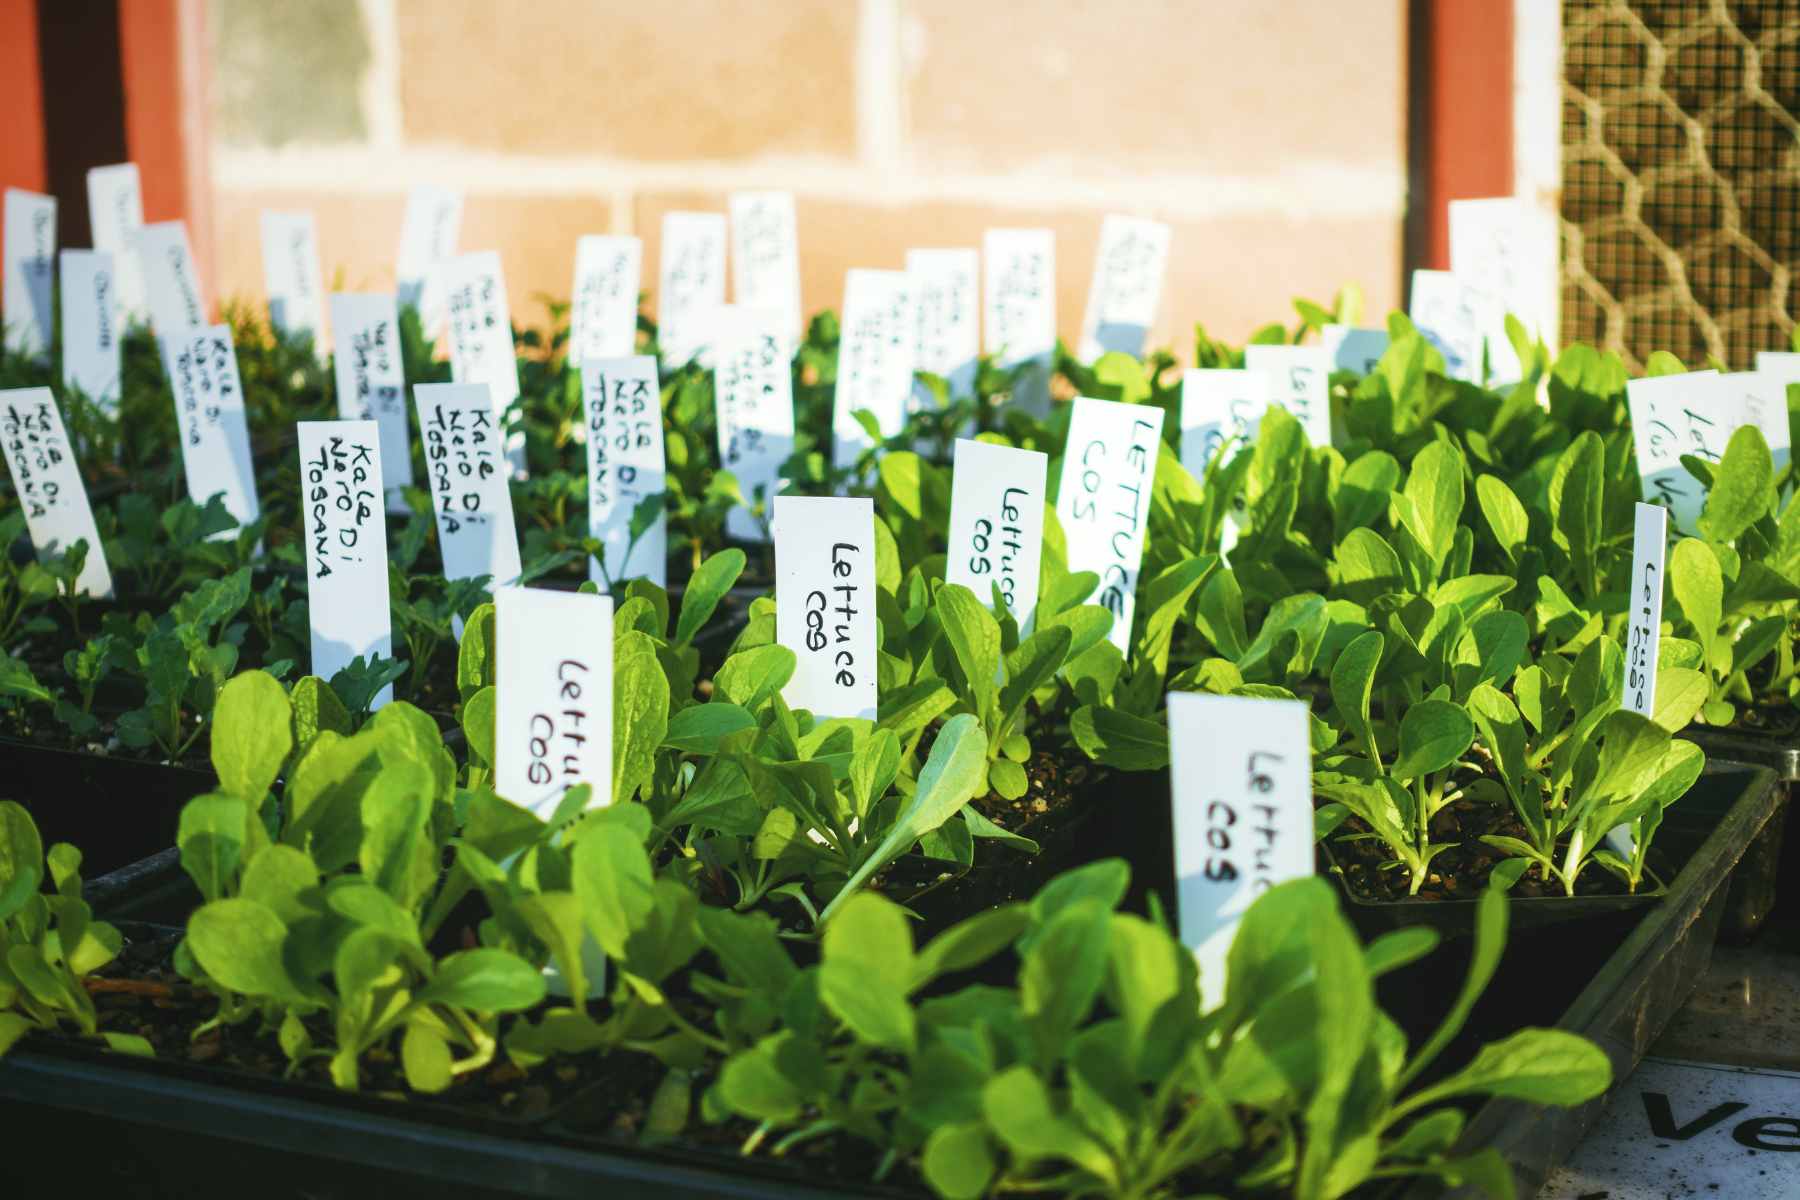
Label Your Plants: It’s easy to forget where and what you’ve planted. Use garden markers to label your rows or sections clearly. This not only helps in identifying plants as they grow but also aids in your garden management practices.
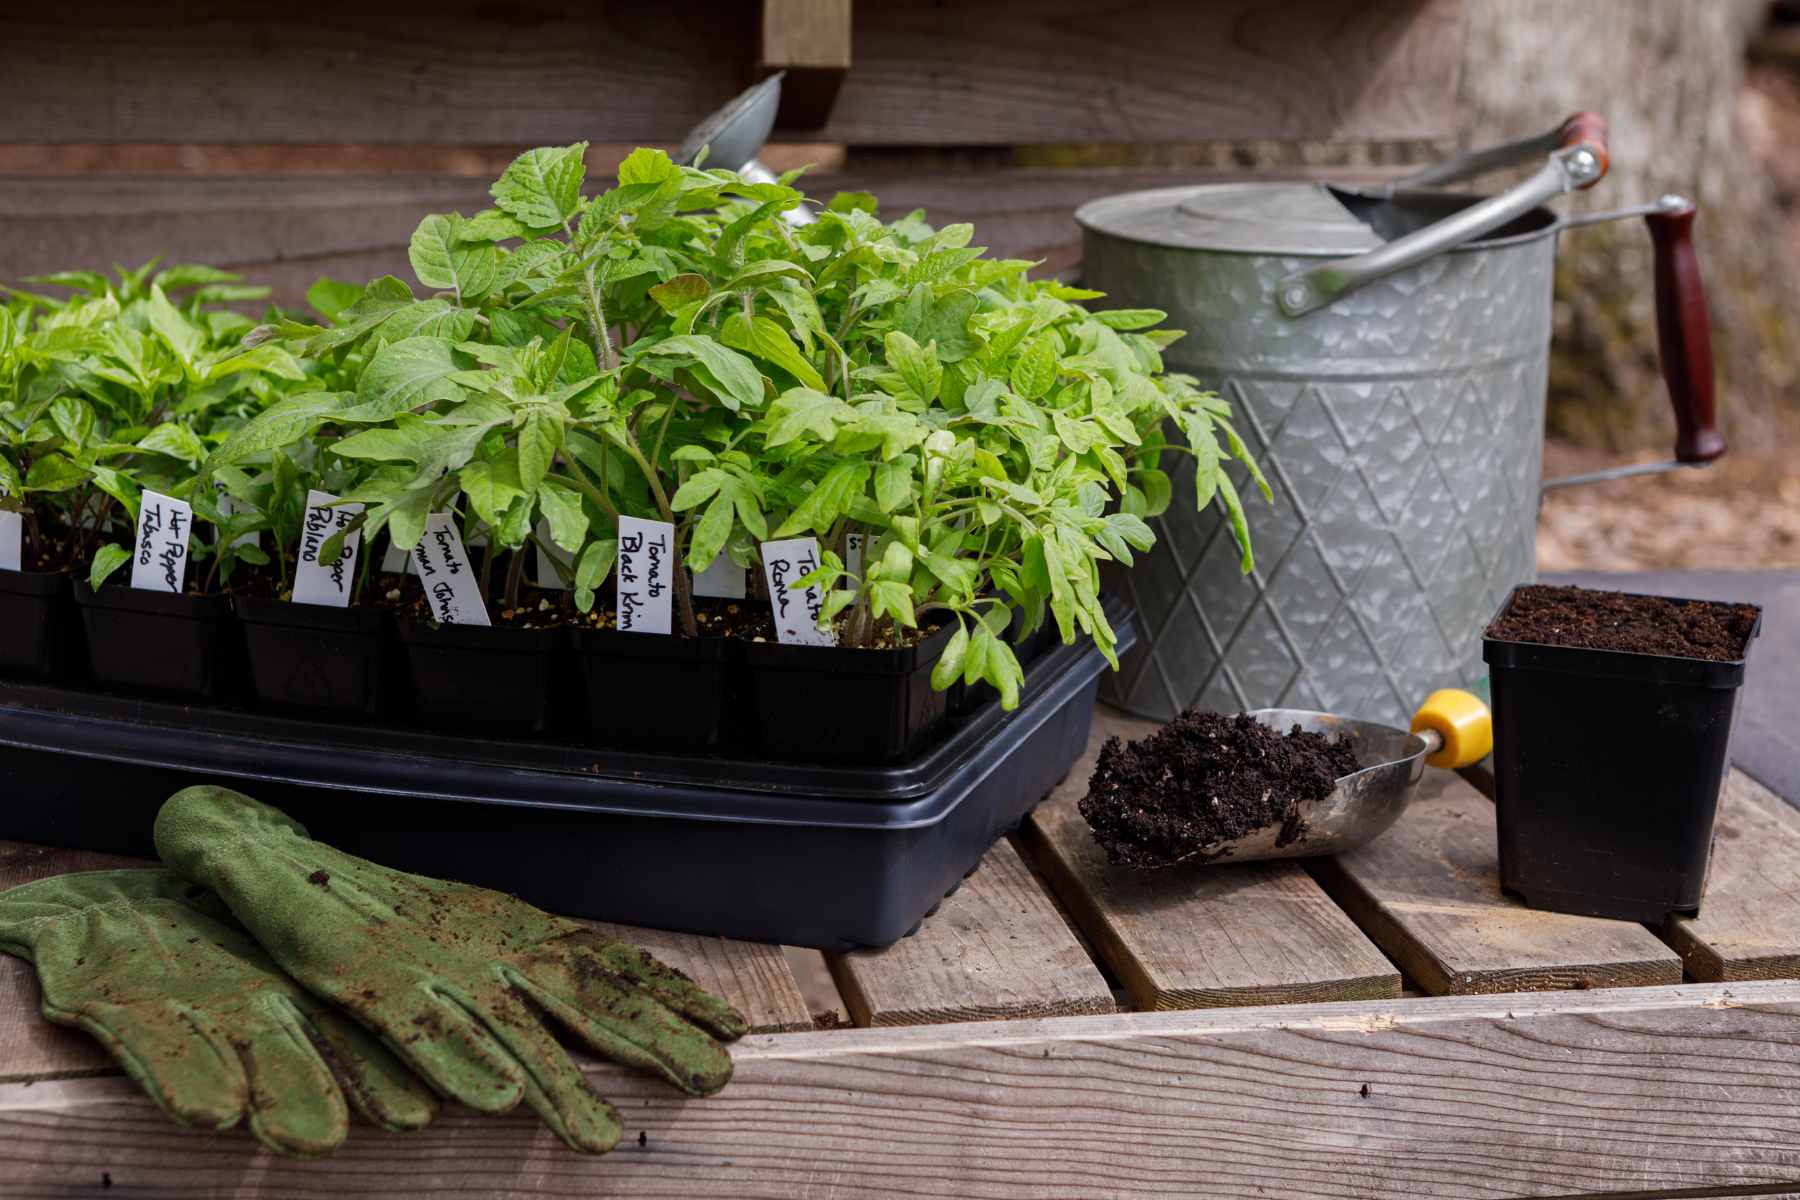
Best Practices for Planting Young Plants and Ensuring Successful Transplanting
Choose the Right Time: Transplant on a cloudy day or in the late afternoon to reduce transplant shock. The cooler temperature helps plants acclimatize without the immediate stress of midday sun.
Prepare the Transplant Hole: Dig a hole that is just big enough to accommodate the root ball of the plant. If you’re transplanting tomatoes or peppers, digging a deeper hole allows the planting of the stem up to the first set of true leaves, which promotes a stronger root system.
Water Before Transplanting: Water the plants in their containers before you start the transplanting process. This ensures the soil is cohesive and protects the root ball during the move.
Handling the Plant: Gently remove the plant from its container, trying not to disturb the roots. If roots are circling the bottom, lightly tease them apart to encourage outward growth.
Positioning the Plant: Place the plant in the hole and fill it with soil, patting down lightly around the base to remove air pockets. Ensure the plant is not deeper in the ground than it was in the pot, except in the case of tomatoes as mentioned.
Water and Mulch: After transplanting, water the plant thoroughly to help settle the soil around the roots and provide necessary hydration. Apply a layer of mulch around the plant to help retain moisture and suppress weeds.
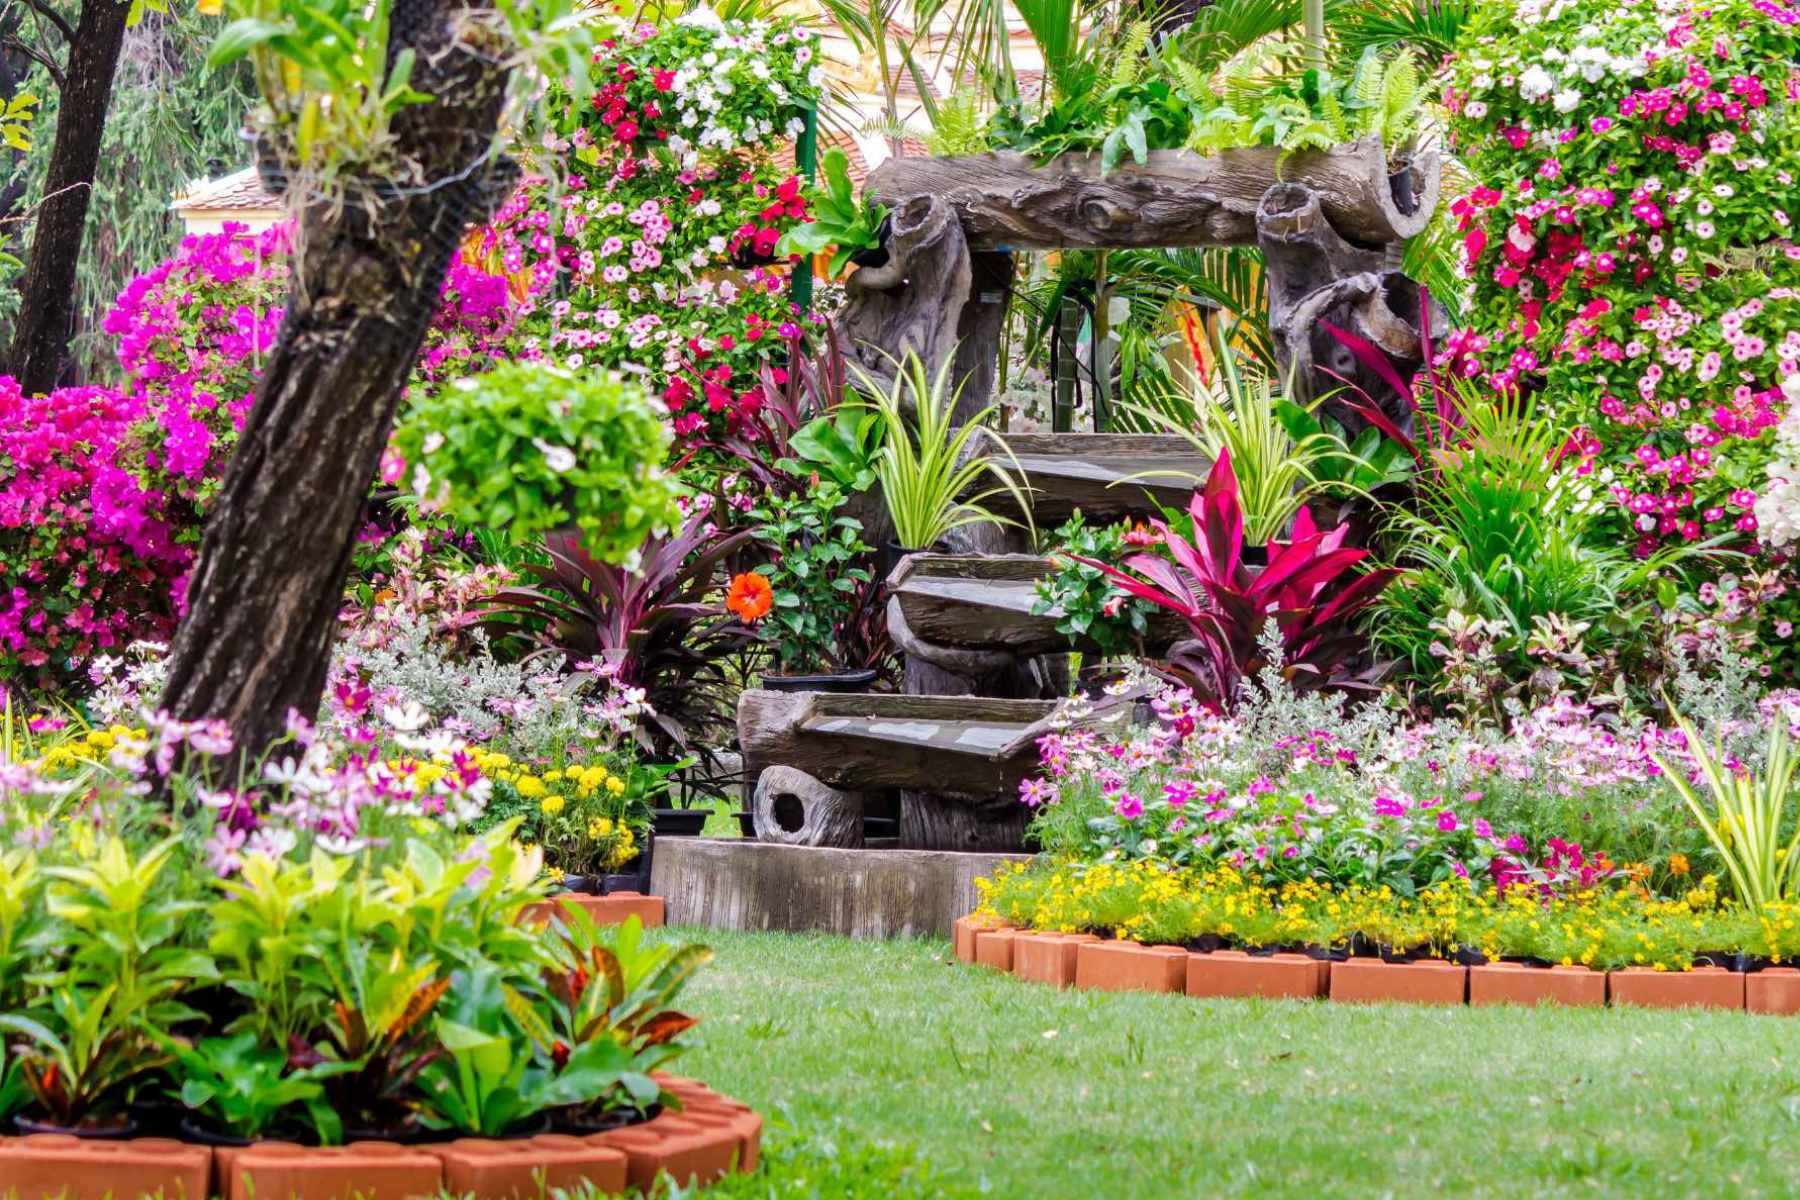
Maintaining a Healthy Spring Garden
Regular maintenance is the backbone of a thriving garden. As your plants grow, they will need continual support in the form of watering, fertilizing, pruning, and protection from pests.
Regular Maintenance Tips
Watering: The watering needs of your garden can vary greatly depending on the weather and the type of plants you are growing. Most vegetables and young plants require consistent, even moisture. Water deeply a few times a week to encourage deep root growth, rather than a shallow daily sprinkle.
Fertilizing: Feed your plants according to their specific needs. A balanced, slow-release fertilizer can promote healthy growth in most vegetable and flower gardens.
Pruning: Keep an eye on your plants as they grow, and prune as necessary to shape the plant or encourage growth. For flowering plants, deadheading spent blooms can encourage new flowers to form. For vegetables, removing any unhealthy or yellowing leaves helps prevent the spread of diseases and focuses the plant’s energy on producing fruits.
Apply Our Natural Plant Protector: Incorporating our Natural Plant Protector into your maintenance routine can help prevent and manage potential pest issues effectively when used as directed. A quick application can control pests like aphids and spider mites, which are common as the weather warms. See tips for keeping your plants healthy with our natural and organic pesticide and how to protect your garden from pests with integrated pest management (IPM).
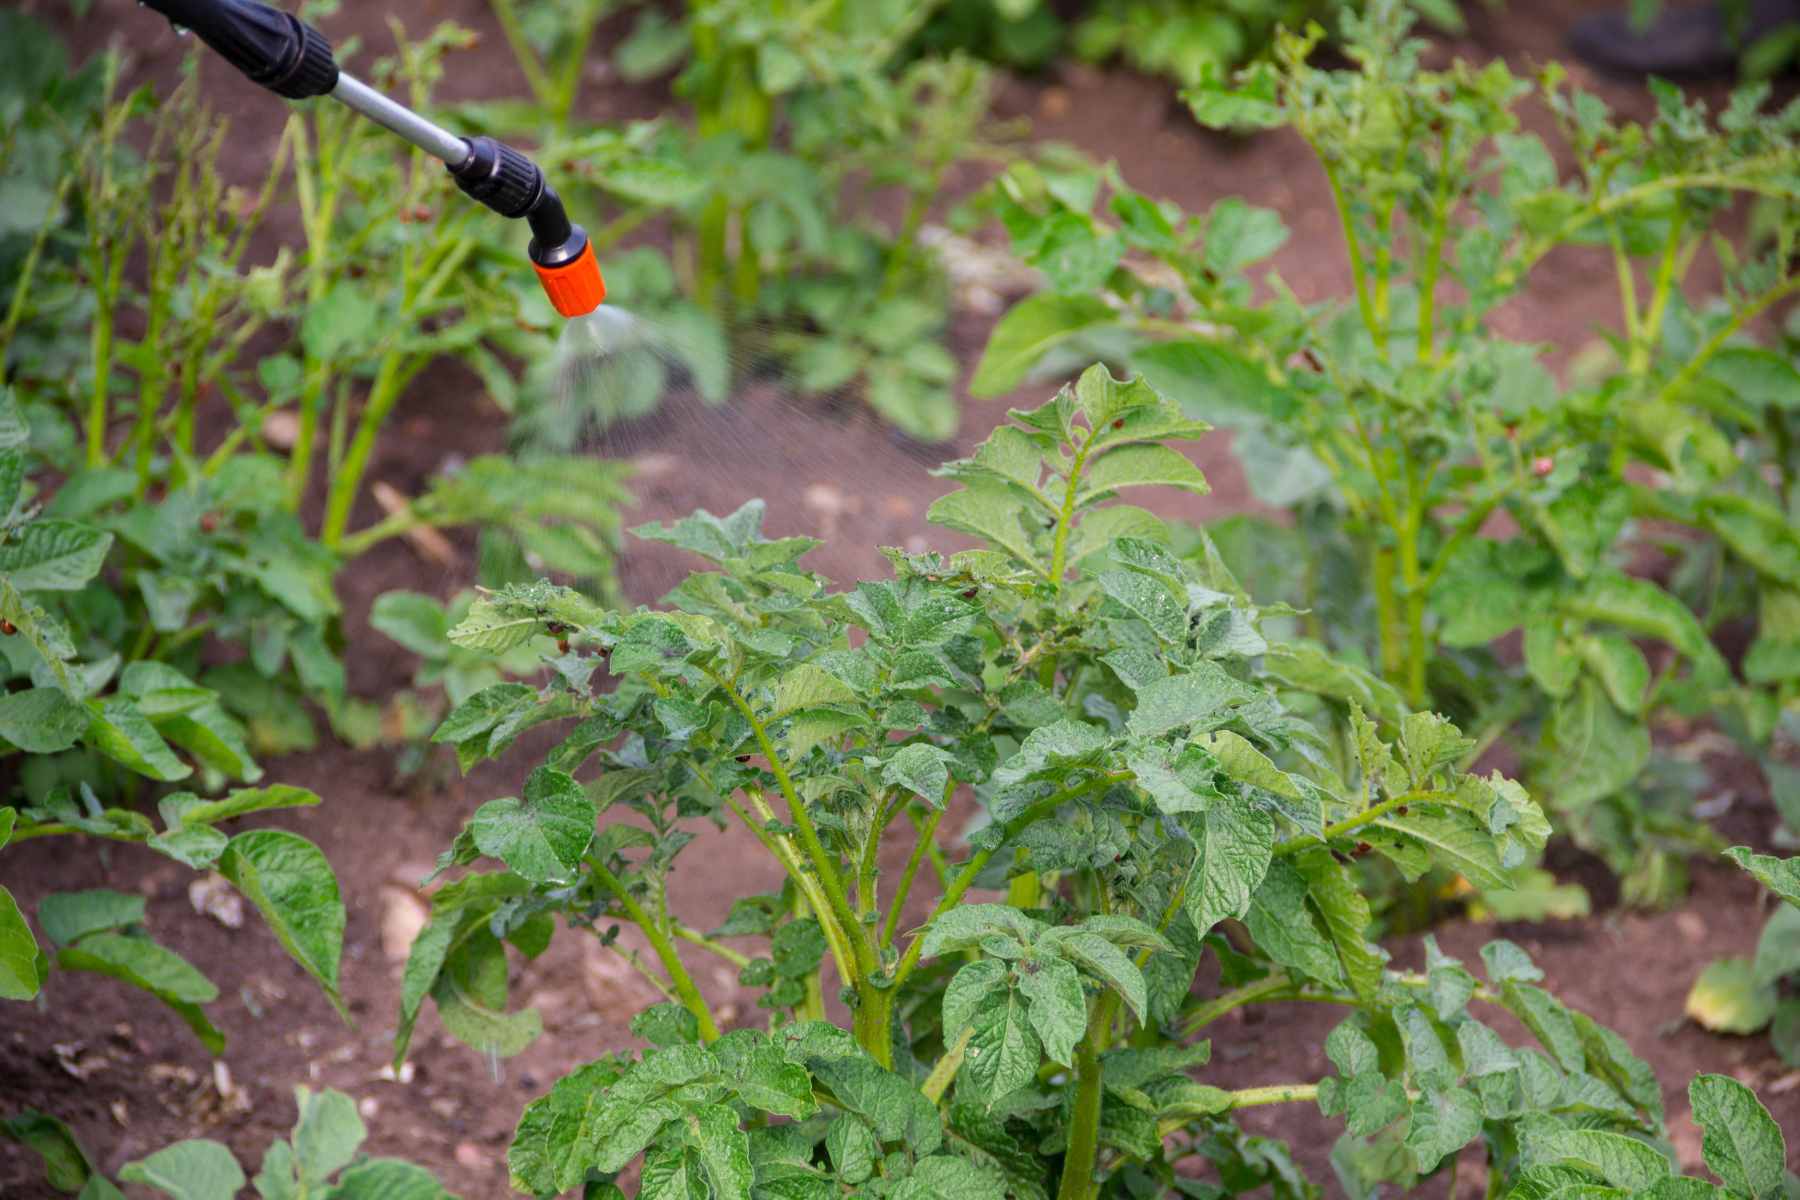
Effective Plant Care with Lost Coast Plant Therapy
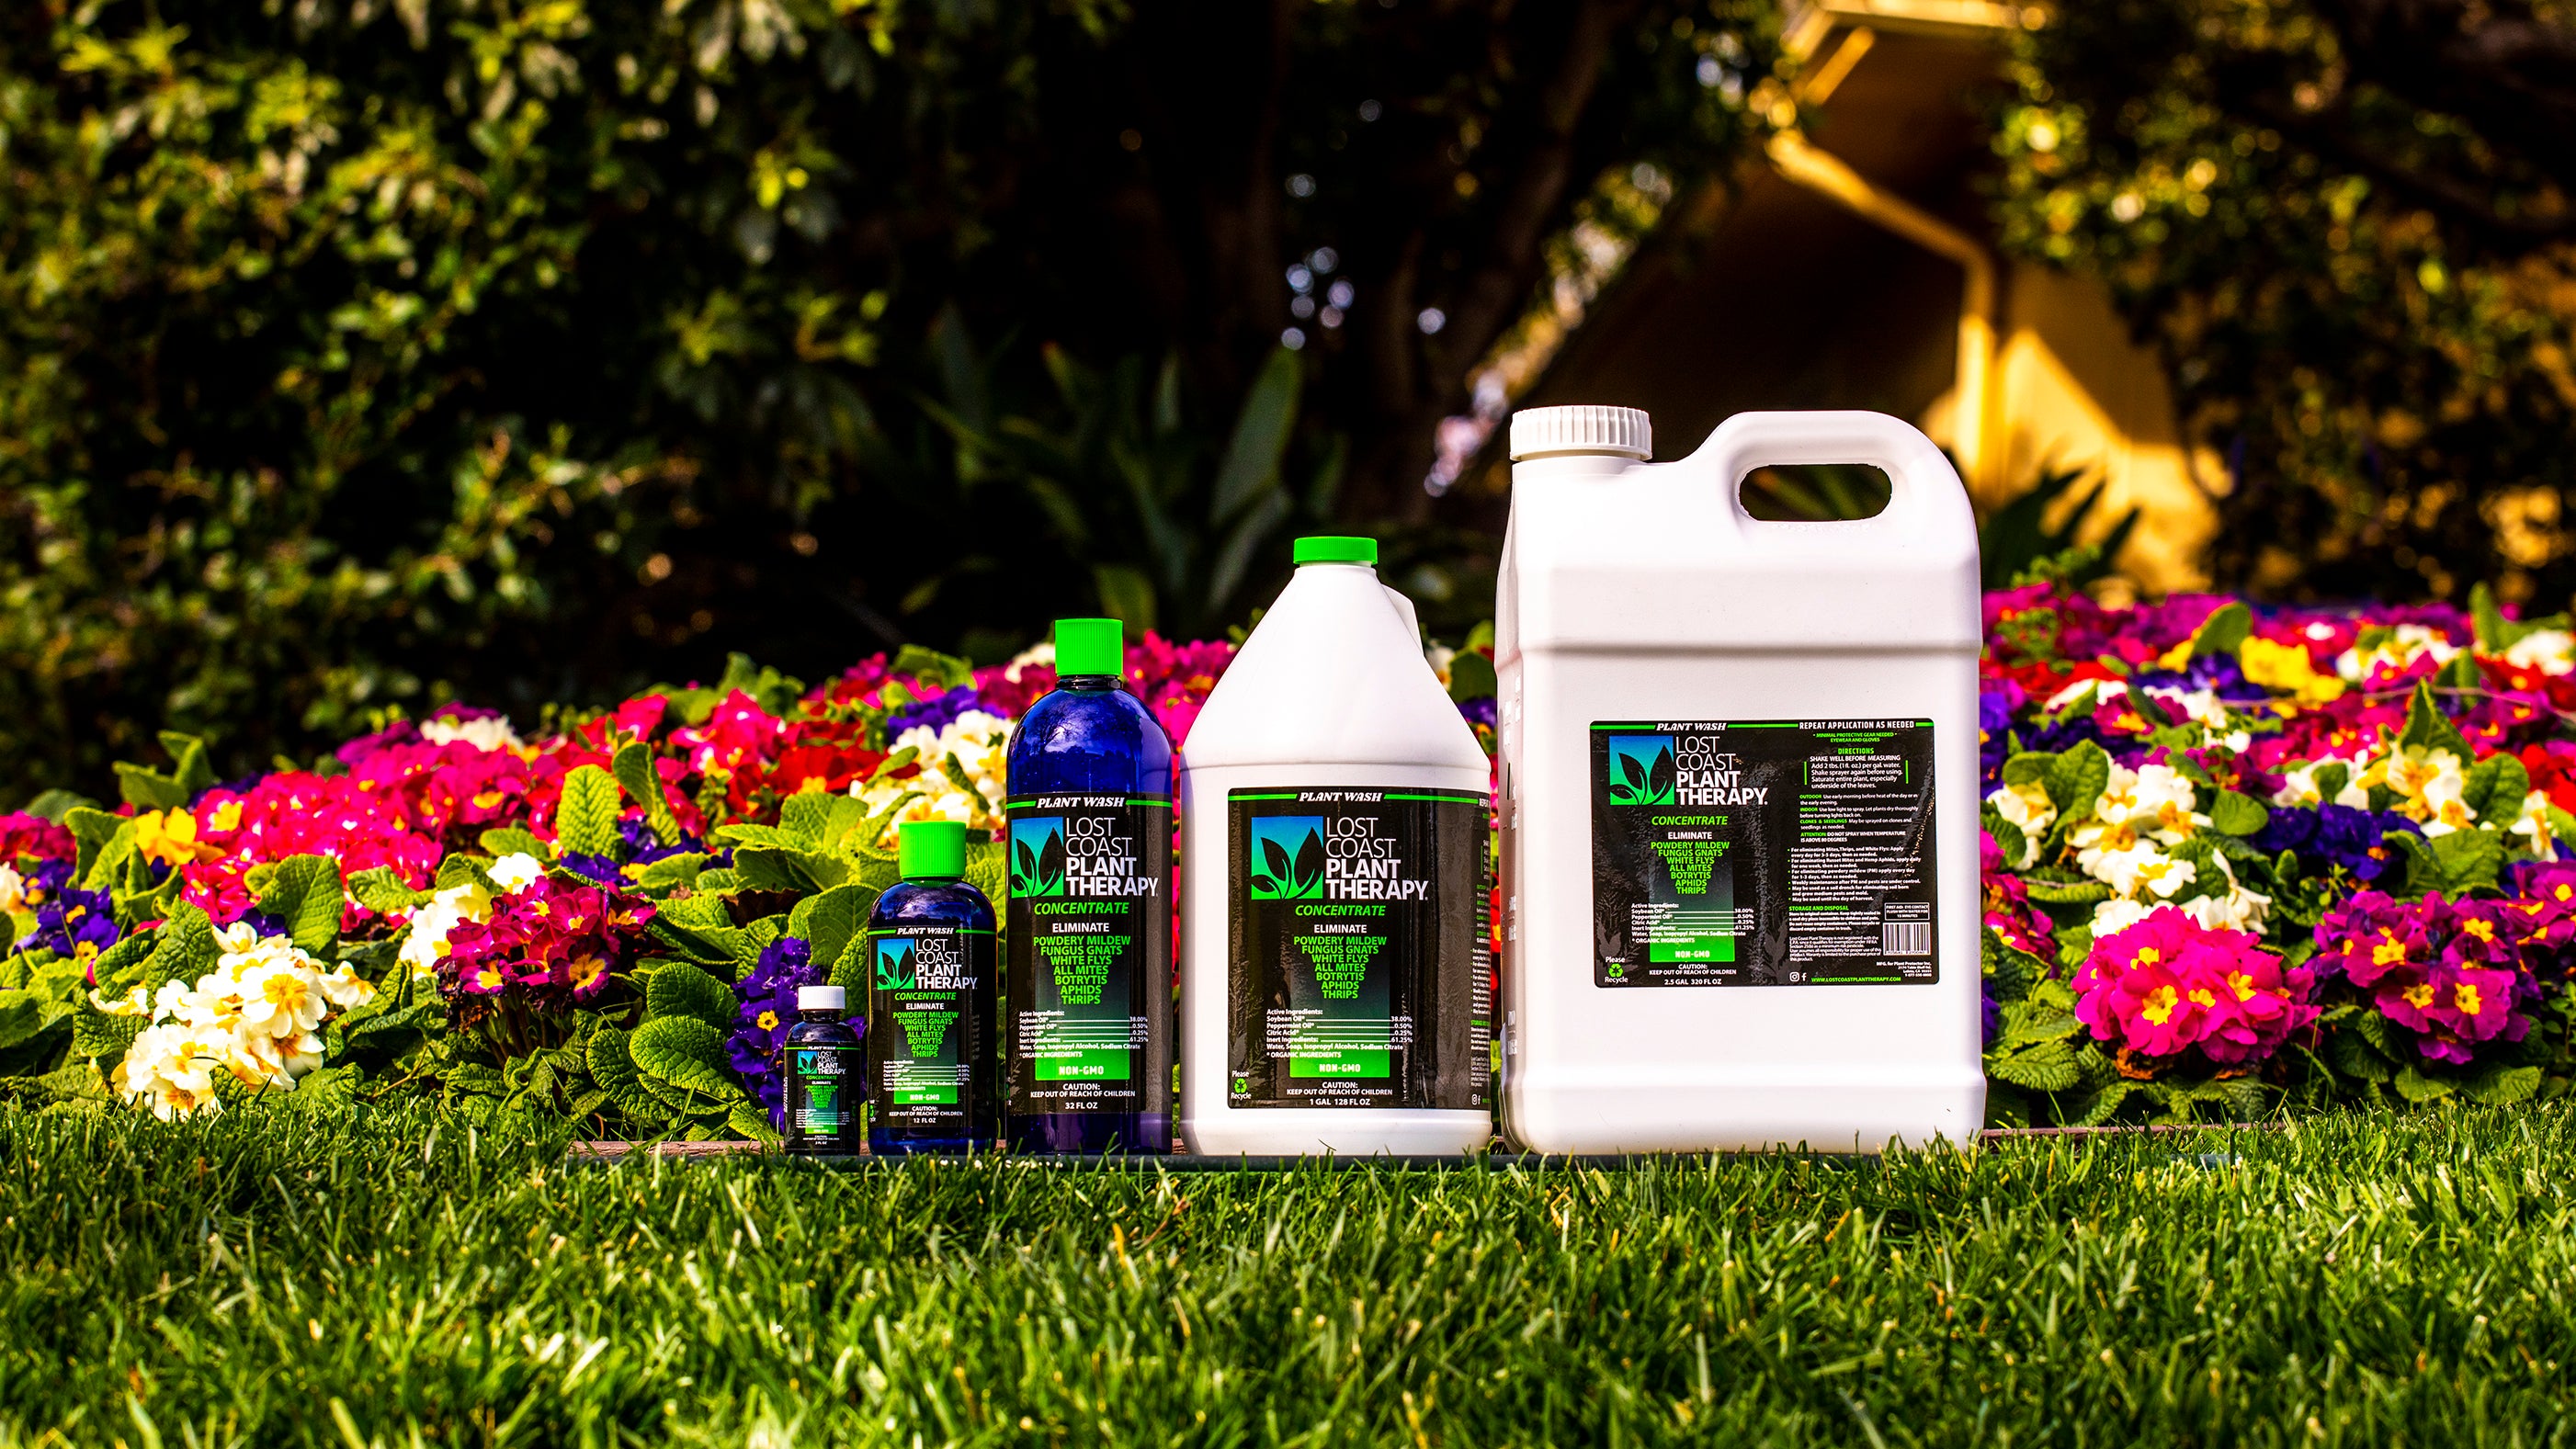
Our Natural Plant Wash is crafted from simple, natural ingredients, making it a gentle yet effective solution for garden care. Our Natural Plant Wash is made with ingredients that are kind to the earth and safe for humans and pets when used as directed. Lost Coast Plant Therapy is ideal for gardeners who care about their environmental footprint but still need reliable results against pests and diseases.
How Our Product Controls Common Pests and Diseases
Controlling Powdery Mildew: Our Natural Plant Wash tackles this fungal disease by altering the pH on the plant's surface, creating an inhospitable environment for the mildew to thrive. Regular applications can prevent the disease from taking hold and spreading. See more on how to get rid of powdery mildew here.
Aphids, Thrips, and Spider Mites Control: Aphids and thrips are notorious for sucking sap from plants, weakening them and spreading diseases. Spider mites, on the other hand, cause damage by piercing plant cells to feed. Our Natural Plant Wash addresses these common garden pests by suffocating them upon contact, thanks to the natural oils that block their airways. Apply Lost Coast Plant Therapy thoroughly, covering all parts of the plant, particularly the undersides of leaves where these pests often reside.
See Instructions and more on How it Works here.
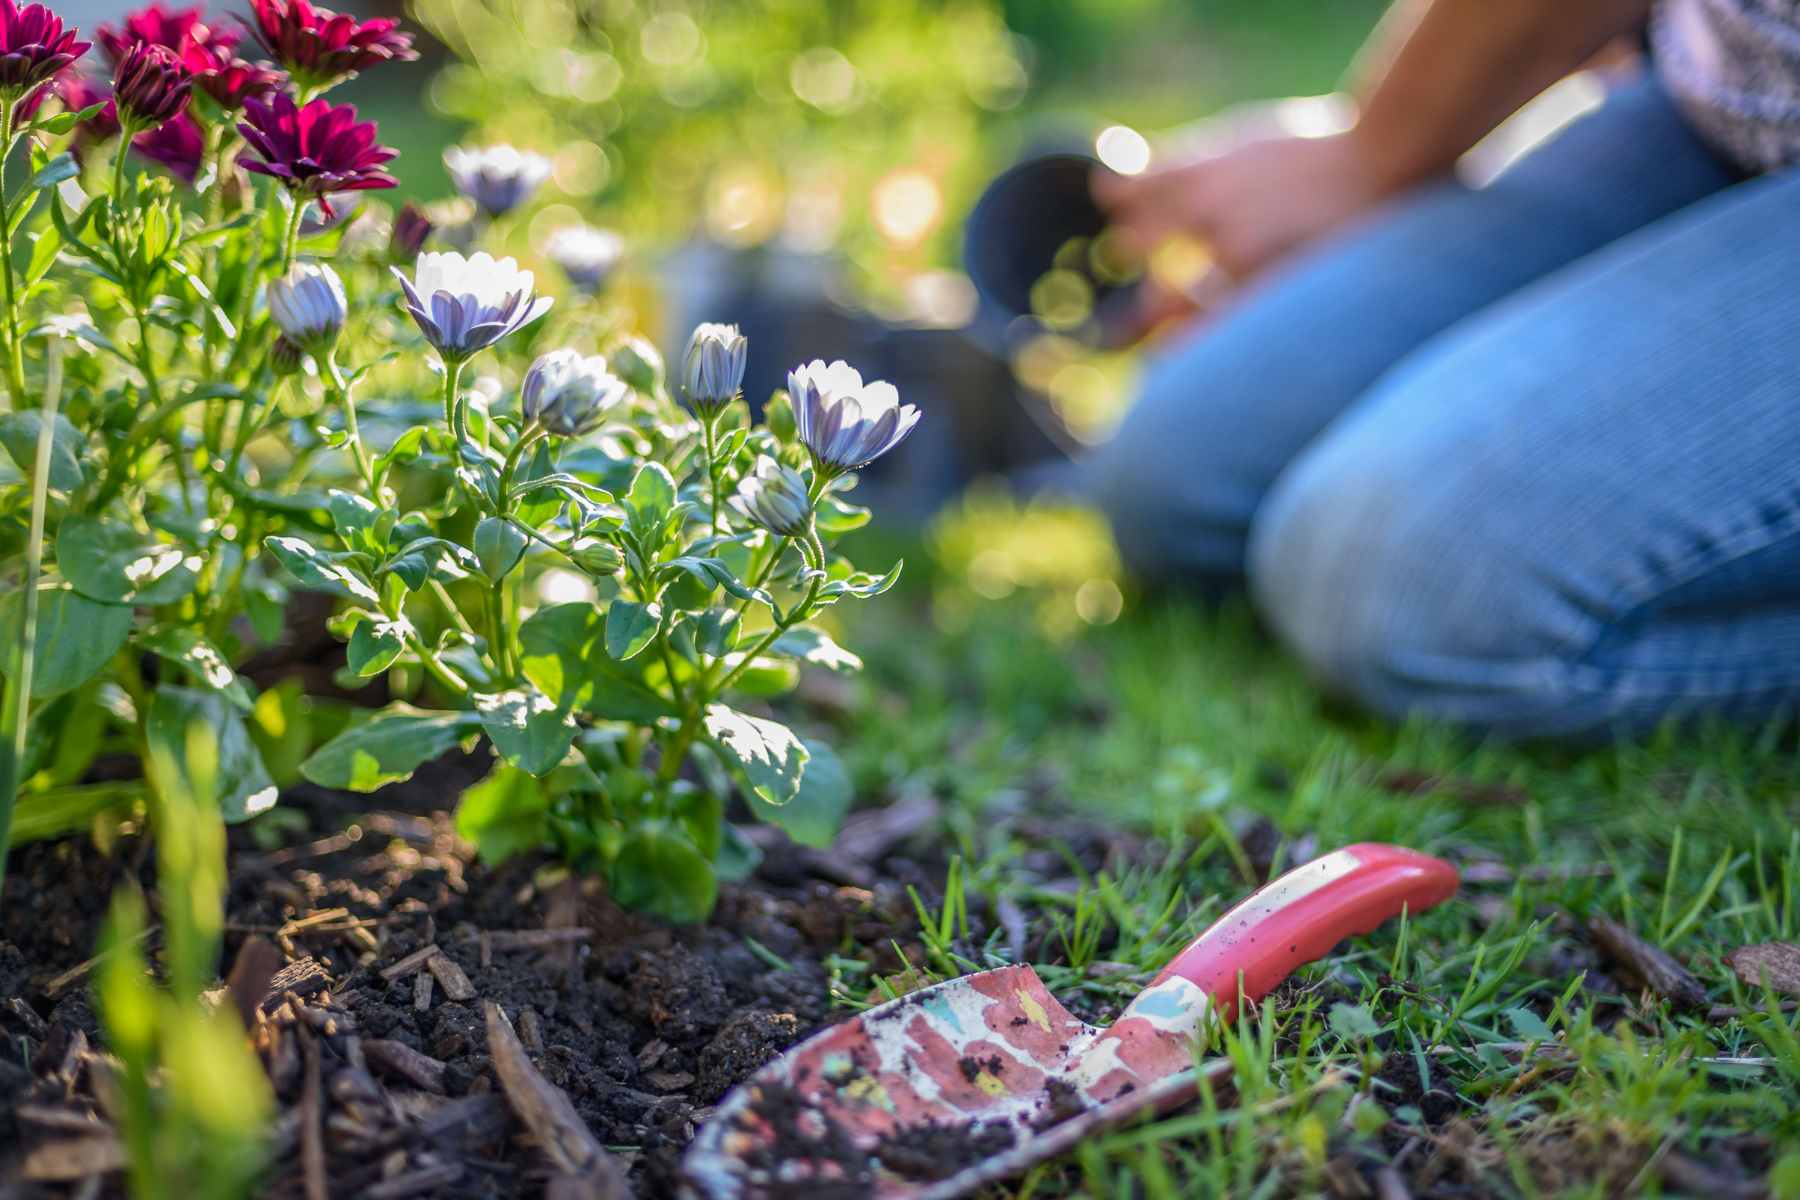
Conclusion
As the sun sets later each evening and your garden bursts into life, the rewards of your spring planting begin to emerge. Flowers bloom, shrubs burst into leaf, and the plants you carefully selected and nurtured since early in the season start to fill out the beds.
Using the strategies and tips provided in this guide, including the proper application of our Natural Plant Wash, ensures your garden is not only a haven of beauty and productivity but also a model of sustainable practices. Remember, successful gardening is a continuous journey of discovery, as each season brings new lessons and opportunities to refine your gardening skills. Always be prepared to adapt and respond to your garden’s needs, whether it's adjusting water levels, providing extra support for tall crops, or protecting new plants from pests or late spring frosts.

FAQ's
What vegetables are best to plant in spring?
When it comes to spring planting, you have a variety of vegetables to choose from that thrive in cooler weather. Swiss chard, lettuce, peas, and cauliflower are excellent choices to start with. These vegetables can be planted as soon as the ground can be worked after the last frost.
When is the right time to start my garden?
The best time to start your garden depends on your local climate and the last expected frost date. Generally, you can begin planting hardy vegetables and some flowers as soon as the soil is workable. For tender plants like tomatoes and peppers, it's safer to start them indoors in late winter or early spring and transplant them once the threat of frost has passed.
How do I know when plants are ready to be planted outdoors?
Plants started indoors need to be hardened off before planting outdoors permanently. They are ready to be planted outside when they have been acclimatized to outdoor conditions over a week or two, gradually increasing their exposure to sunlight and outdoor temperatures.
What crops can be planted directly in the garden without starting indoors?
Crops like beans, carrots, and radishes grow well when direct sown into the garden. These seeds can be planted directly into the soil as soon as it is warm enough and have been prepared by tilling and enriching with compost.
How can I ensure that my summer crops succeed?
To ensure your summer crops thrive, start by choosing the right varieties for your climate. Ensure they are planted in a location that receives adequate sunlight and in well-draining soil. Regular watering, fertilizing, and pest control solutions like our Natural Plant Wash, applied as directed, will help keep your plants healthy and productive.
What should I do to prepare trees and shrubs for spring?
Spring is a good time to prune trees and shrubs before new growth begins. Remove any dead or diseased branches to help shape the plant and encourage healthy growth. Applying a layer of mulch around the base of the trees and shrubs can also help retain moisture and suppress weeds.
When are spring-planted crops ready to harvest?
The harvest time for spring-planted crops depends on the variety and local growing conditions. Leafy greens like lettuce might be ready to harvest within a few weeks, while root vegetables like carrots take longer. Keep track of planting dates and check the maturity times listed on seed packets as a guideline.
What special care do plants need depending on the variety?
Different plants have specific needs in terms of sunlight, water, and soil type. For example, vegetables like peppers and tomatoes prefer rich, well-draining soil and full sun, whereas herbs like cilantro and parsley can tolerate more shade. Always check the specific needs of each plant variety to ensure optimal growth.
See more FAQ's here.
Additional Resources
Adding Flowers to Your Vegetable Garden - The University of Vermont
Tips for Shopping and Selecting Quality Plants - Iowa State University Extension
Starting Seeds Indoors - University of Minnesota Extension
Perennial Vegetables and Herbs- UC Master Gardeners of Napa County
2023 USDA Plant Hardiness Zone Map
Powdery mildew in the flower garden - University of Minnesota



![How to Start an Indoor Vegetable Garden [Full Guide]](http://www.lostcoastplanttherapy.com/cdn/shop/articles/indoor-vegetable-garden-18_0170e0cd-c578-4351-96c5-bb90970452f3.jpg?v=1742570747&width=1100)

